Before starting this article we want to state that climbing op mount Teide is an upper mountain trek, and that therefore adequate physical preparation, equipment, and knowledge of the terrain and weather conditions are required.
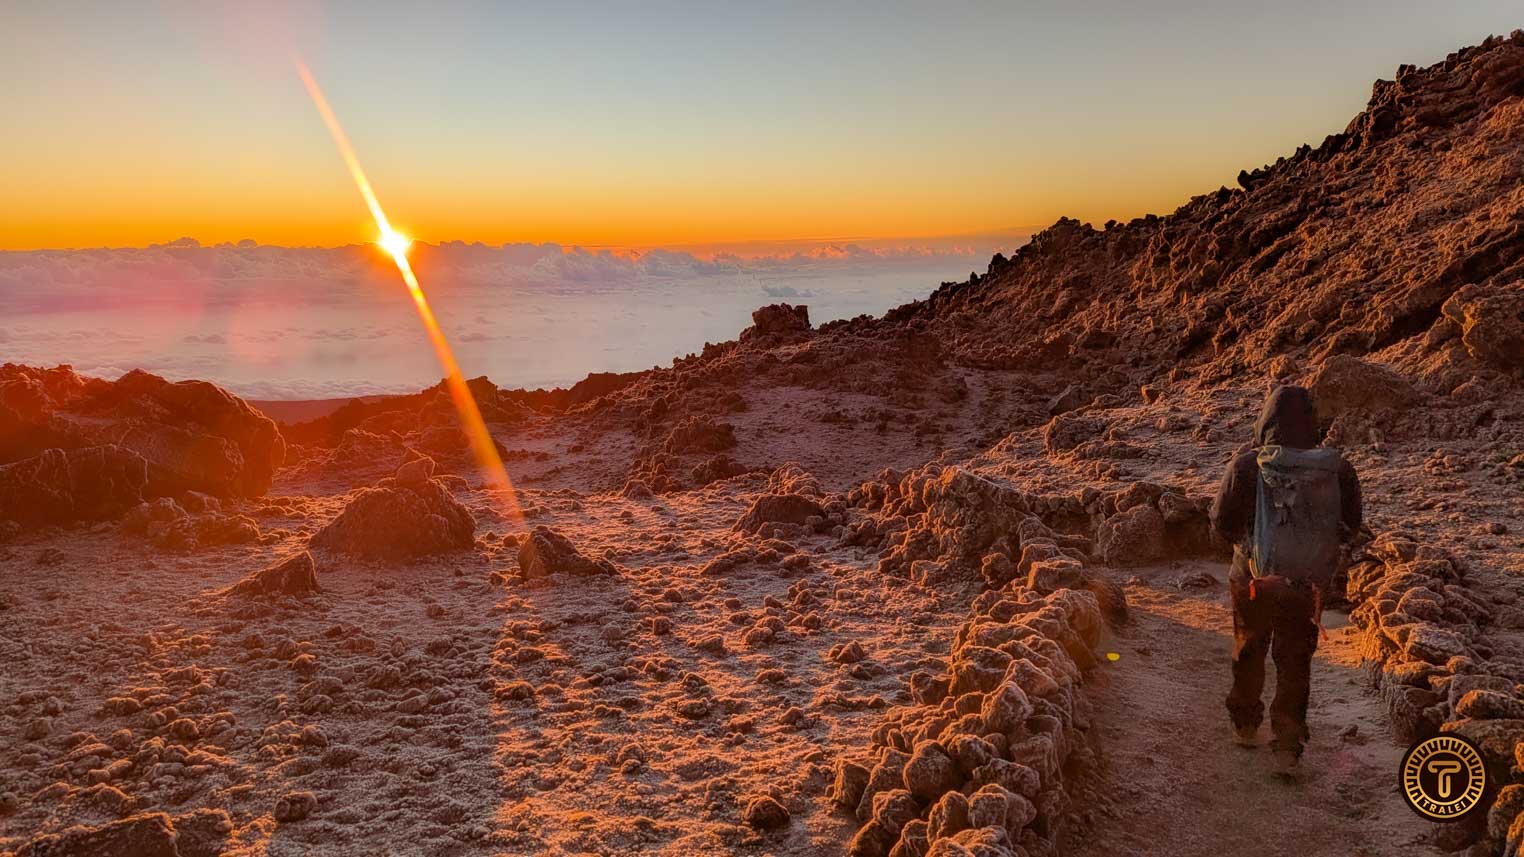
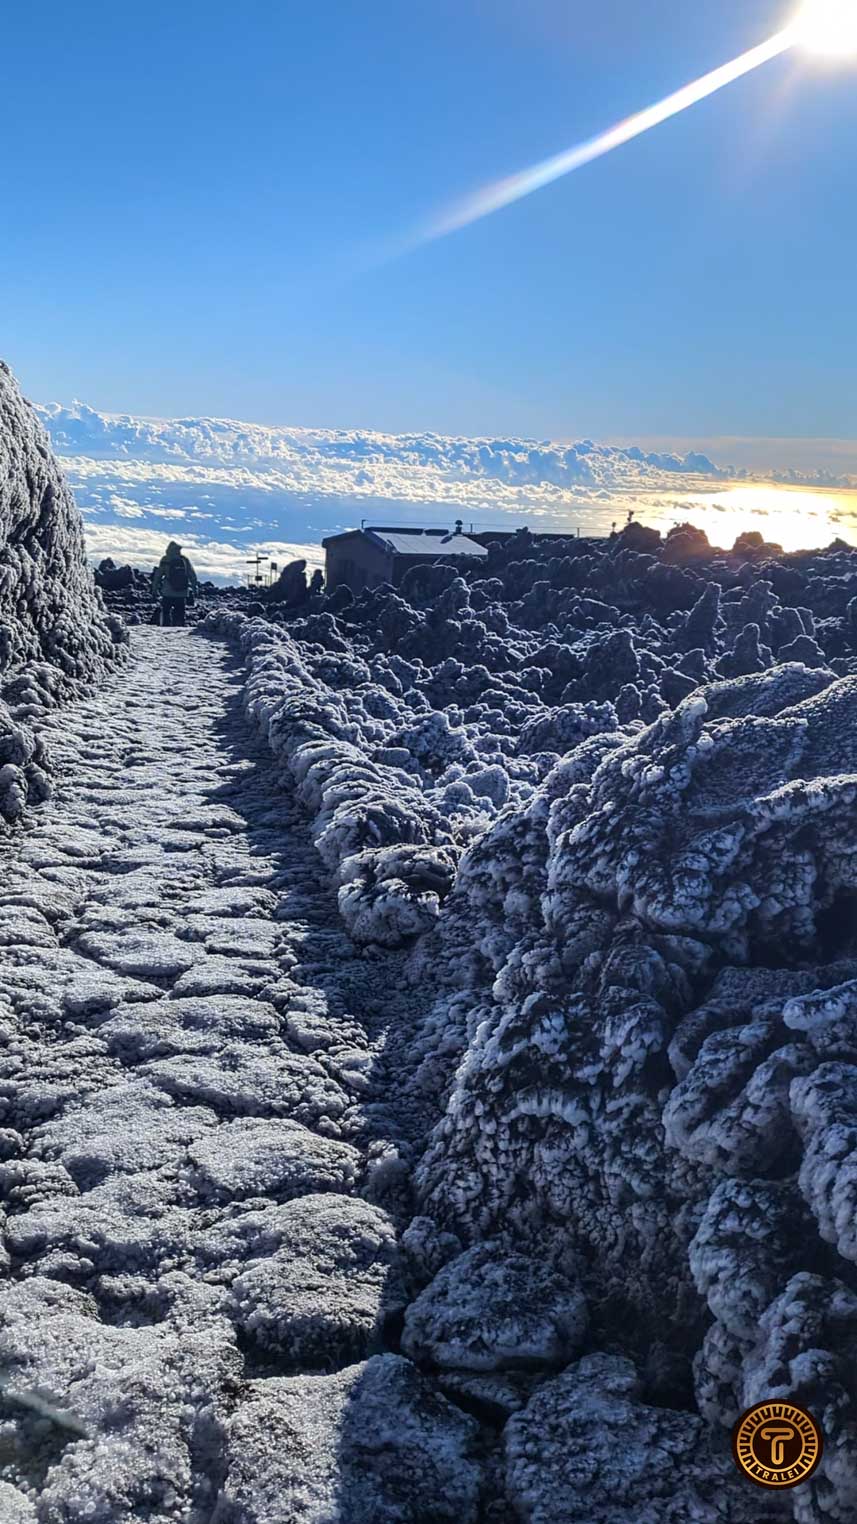
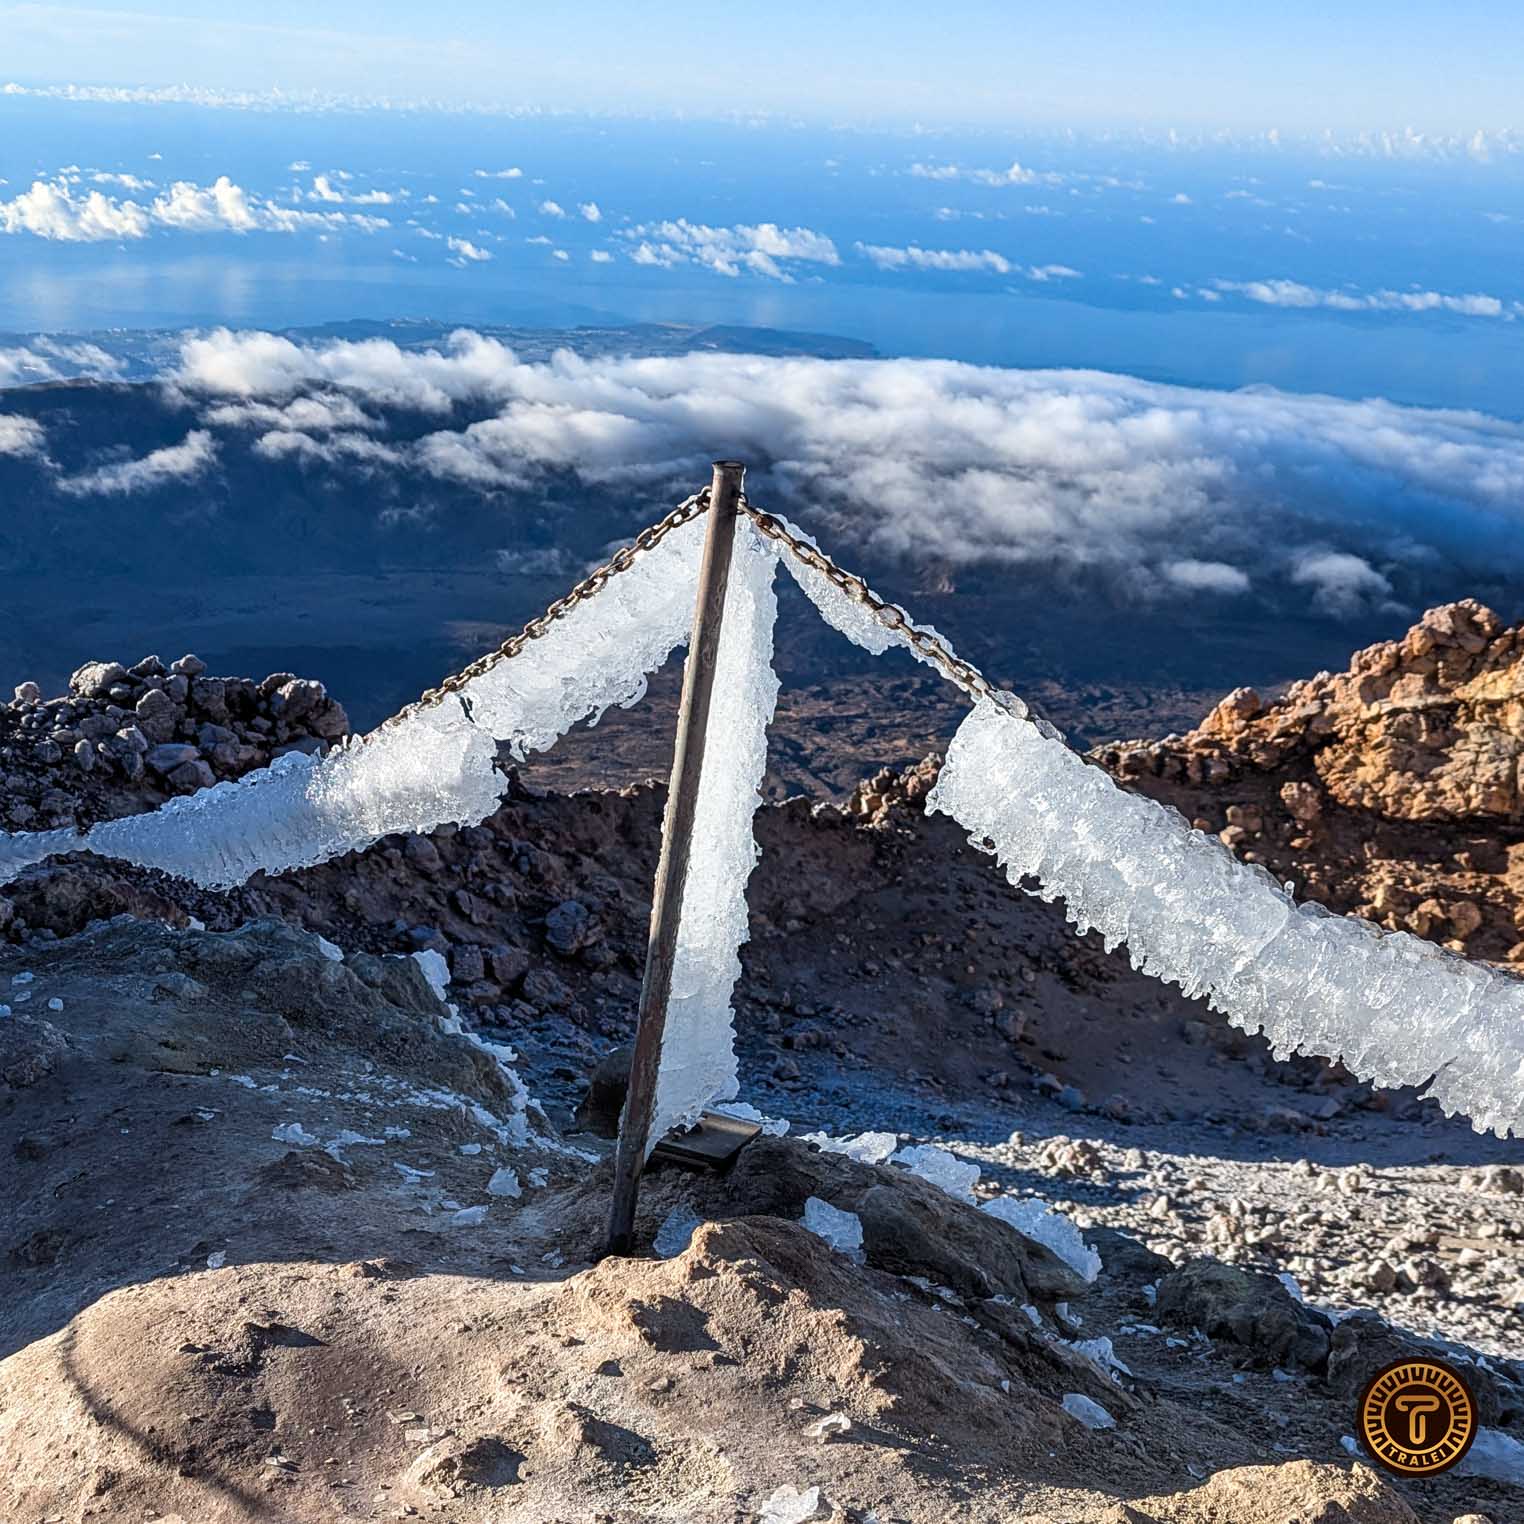
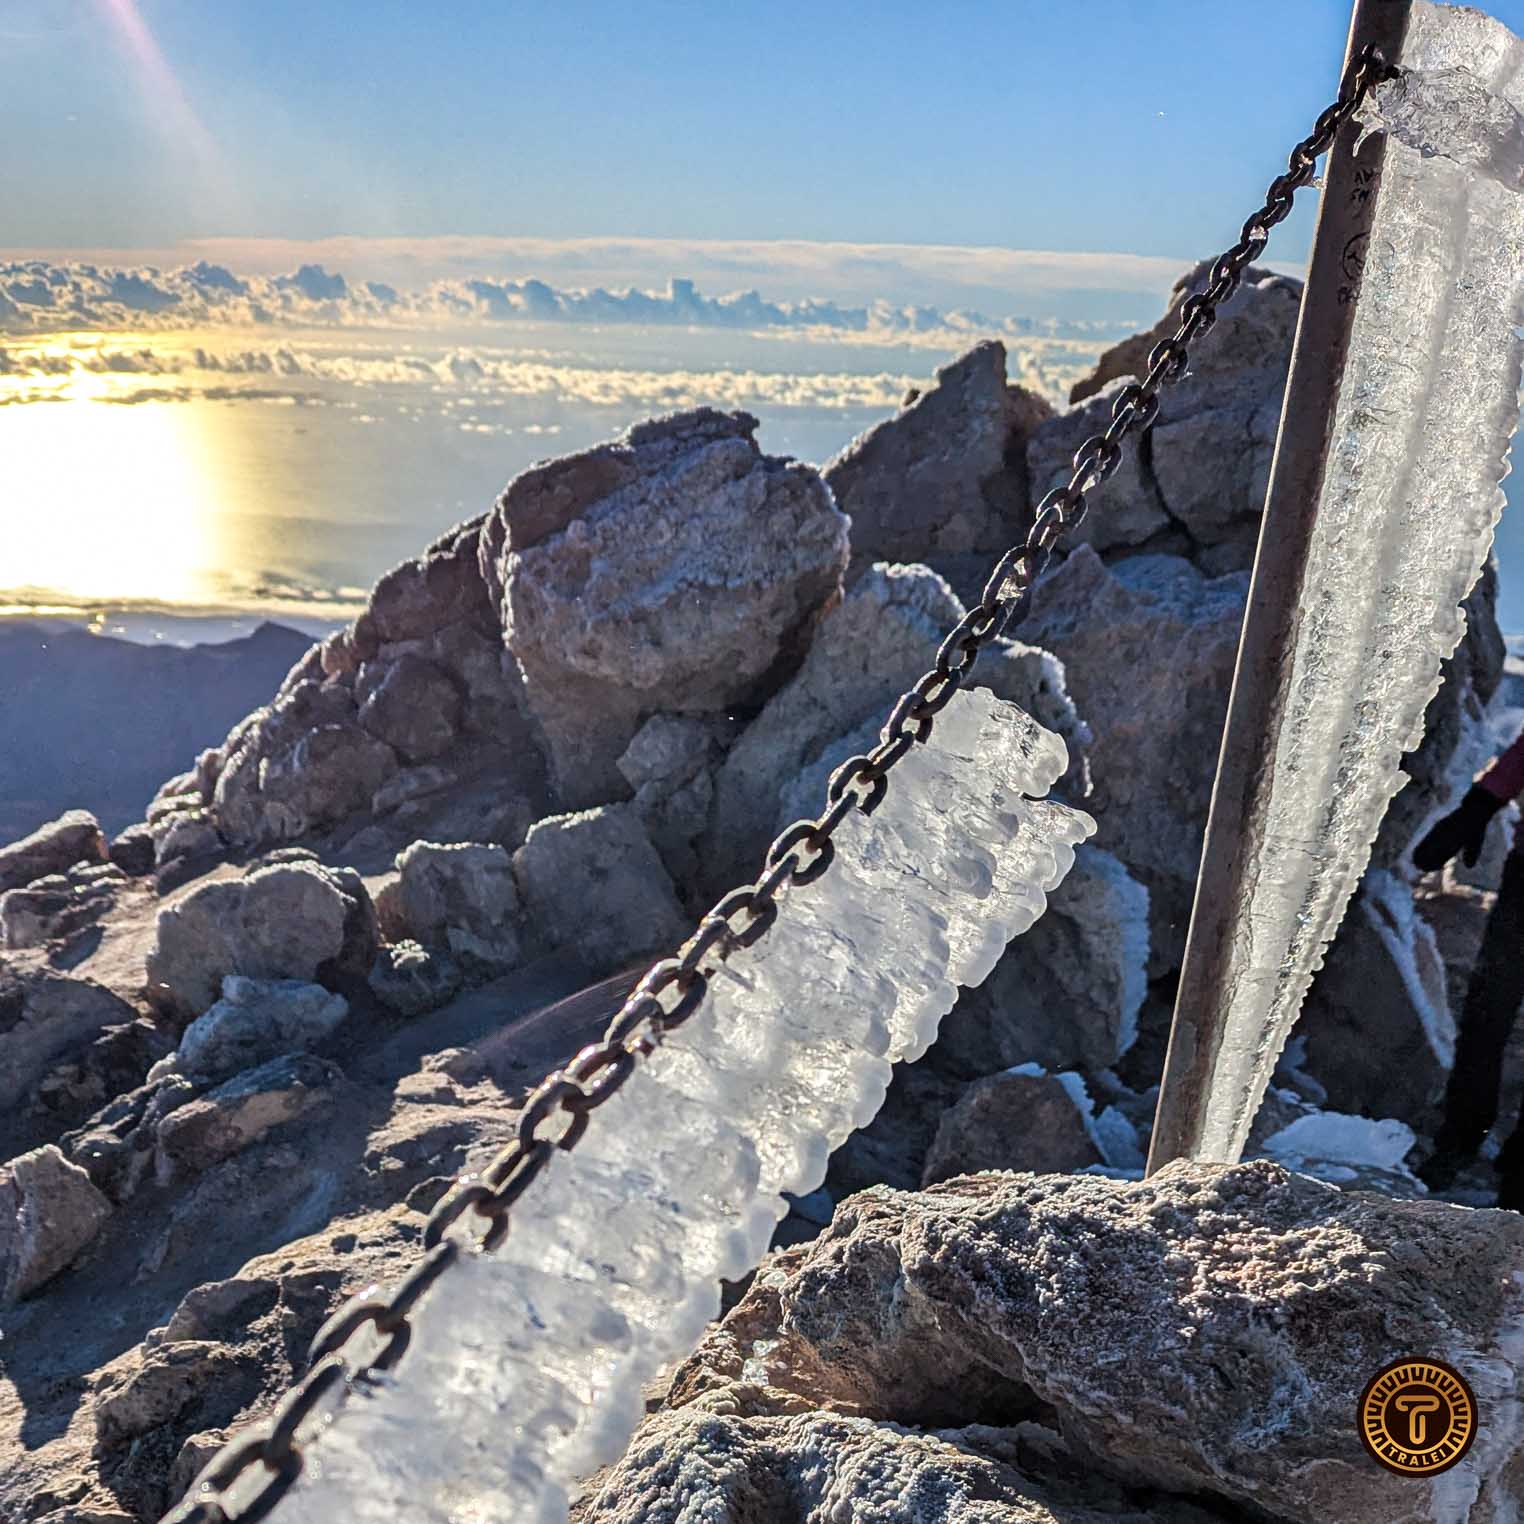
Tenerife is known for its tropical climate, where you are able to go shirtless all day long when close to the shore, but the scene changes completely when you gain some altitude. When Hiking teide during the night temperatures can reach -10ºC at the top during winter, which makes the floor very slippery. That, combined with 60 Km/h winds makes the thermic sensation to reach -25ºC in some cases.
This is no joke as it has caused a few people to die from hypothermia and many needing to be rescued. This is why if you are unsure of your physical condition, or don’t know the route we highly recommend hiring a professional guide.
Table of Contents
The Permit(s) to access the top.
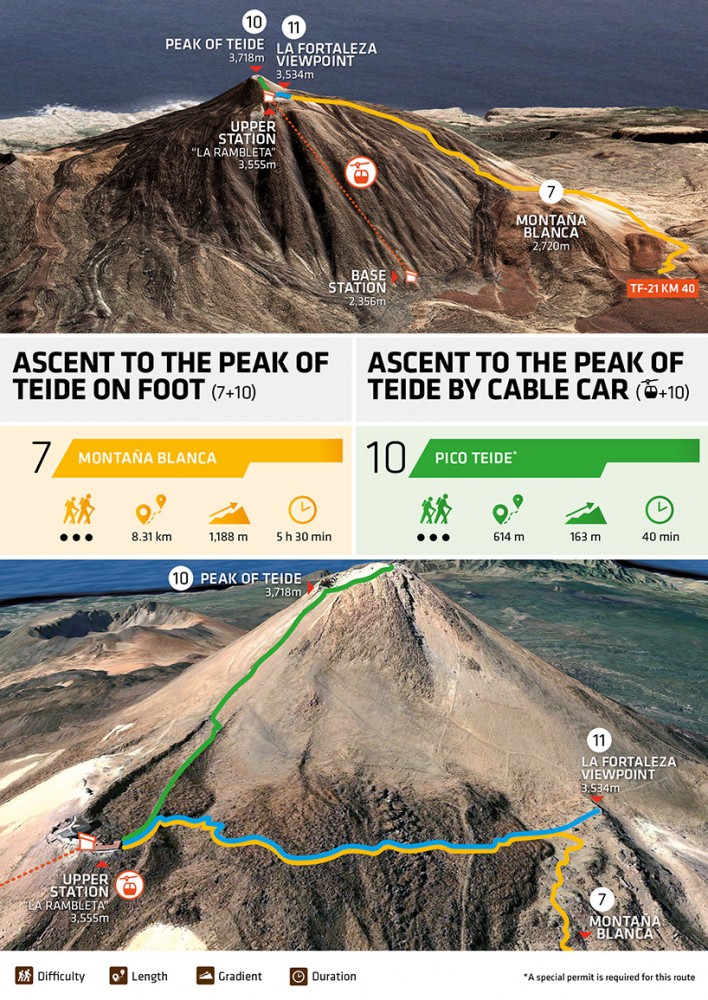
Contrary to recent popular belief accessing the “Telesforo Bravo” trail (The last part of the route from the Cable Car cabin to the Top of Teide) during the night isn’t the way to bypass the permit needed to access Teide’s peak. A special permit is required, which is often asked for at the upper Cable Car Station. (This Permit is different from the general permit -between 9:00 A.M. and 5:00 P.M.- which due to high demand, you need to get 4 months in advance) Not having this permit could prevent you from accessing the top. For the night permit here are 50 spots each day and they usually get booked 3 weeks in advance.
This permit will give you access to the before mentioned “Telesforo Bravo” trail between 6:00 and 9:00 A.M. which will allow you to summit Teide’s peak.
** From November 29 th 2024 new preventative measures have been taken and now it is mandatory to get a separate permit for the route that starts from the parking lot to the Cable Car Station (only needed if hiking), there are 300 daily permits given out, 100 for each of the 3 available periods (00:00 to 9:00, 9:00 to 15:00 and 15:00 to 24:00) the permits can be obtained on the TenerifeON website. In addition to that, anyone who is not wearing adequate equipment will be denied the right to access the path.
These measurements are only supposed to last for the winter season, but it is good to check anyways
The Cable Car
Teide’s Cable Car is a service that brings you from 2.356m to 3.555 meters of altitude in only 8 minutes. The service runs daily (when the weather conditions are favorable) in both directions starting at 9:00 A.M., therefore, it is not possible to go up with the cable car to watch Sunrise, as this permit only lasts till 9:00 A.M.
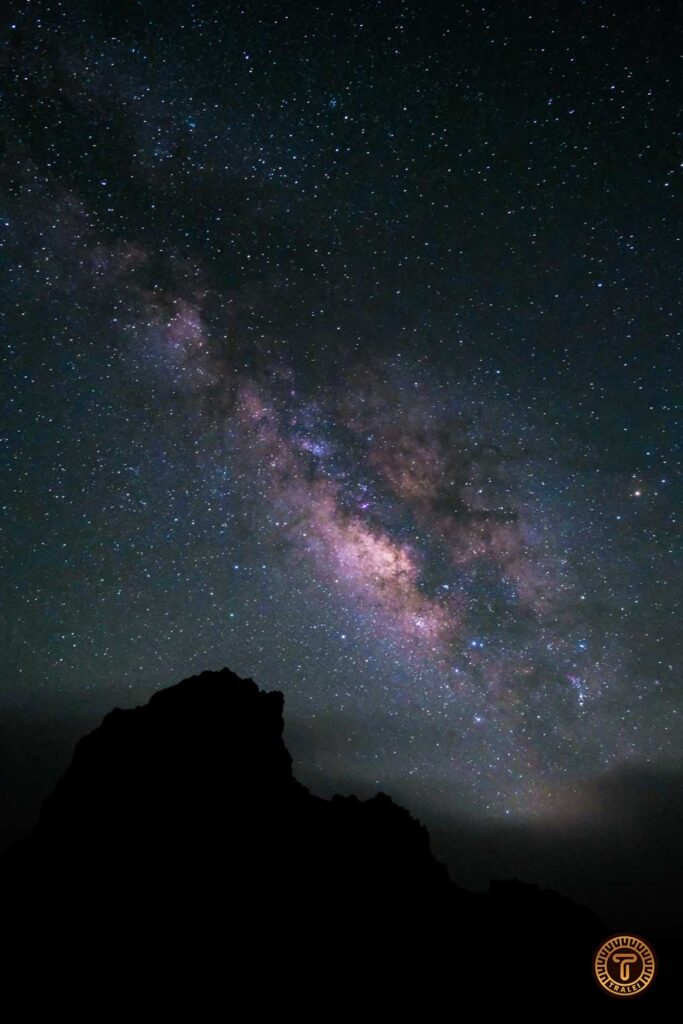
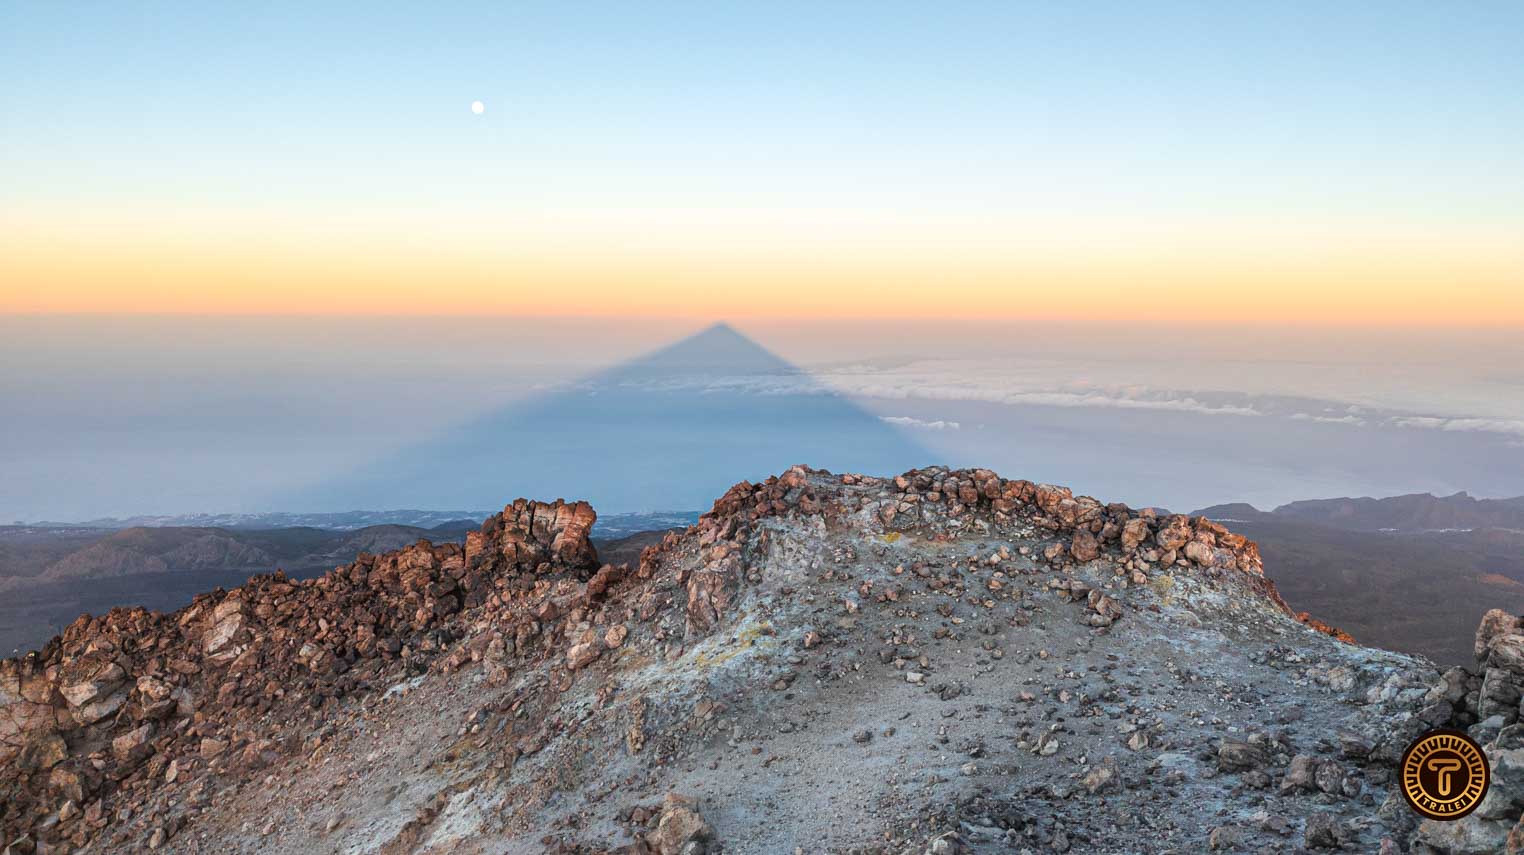
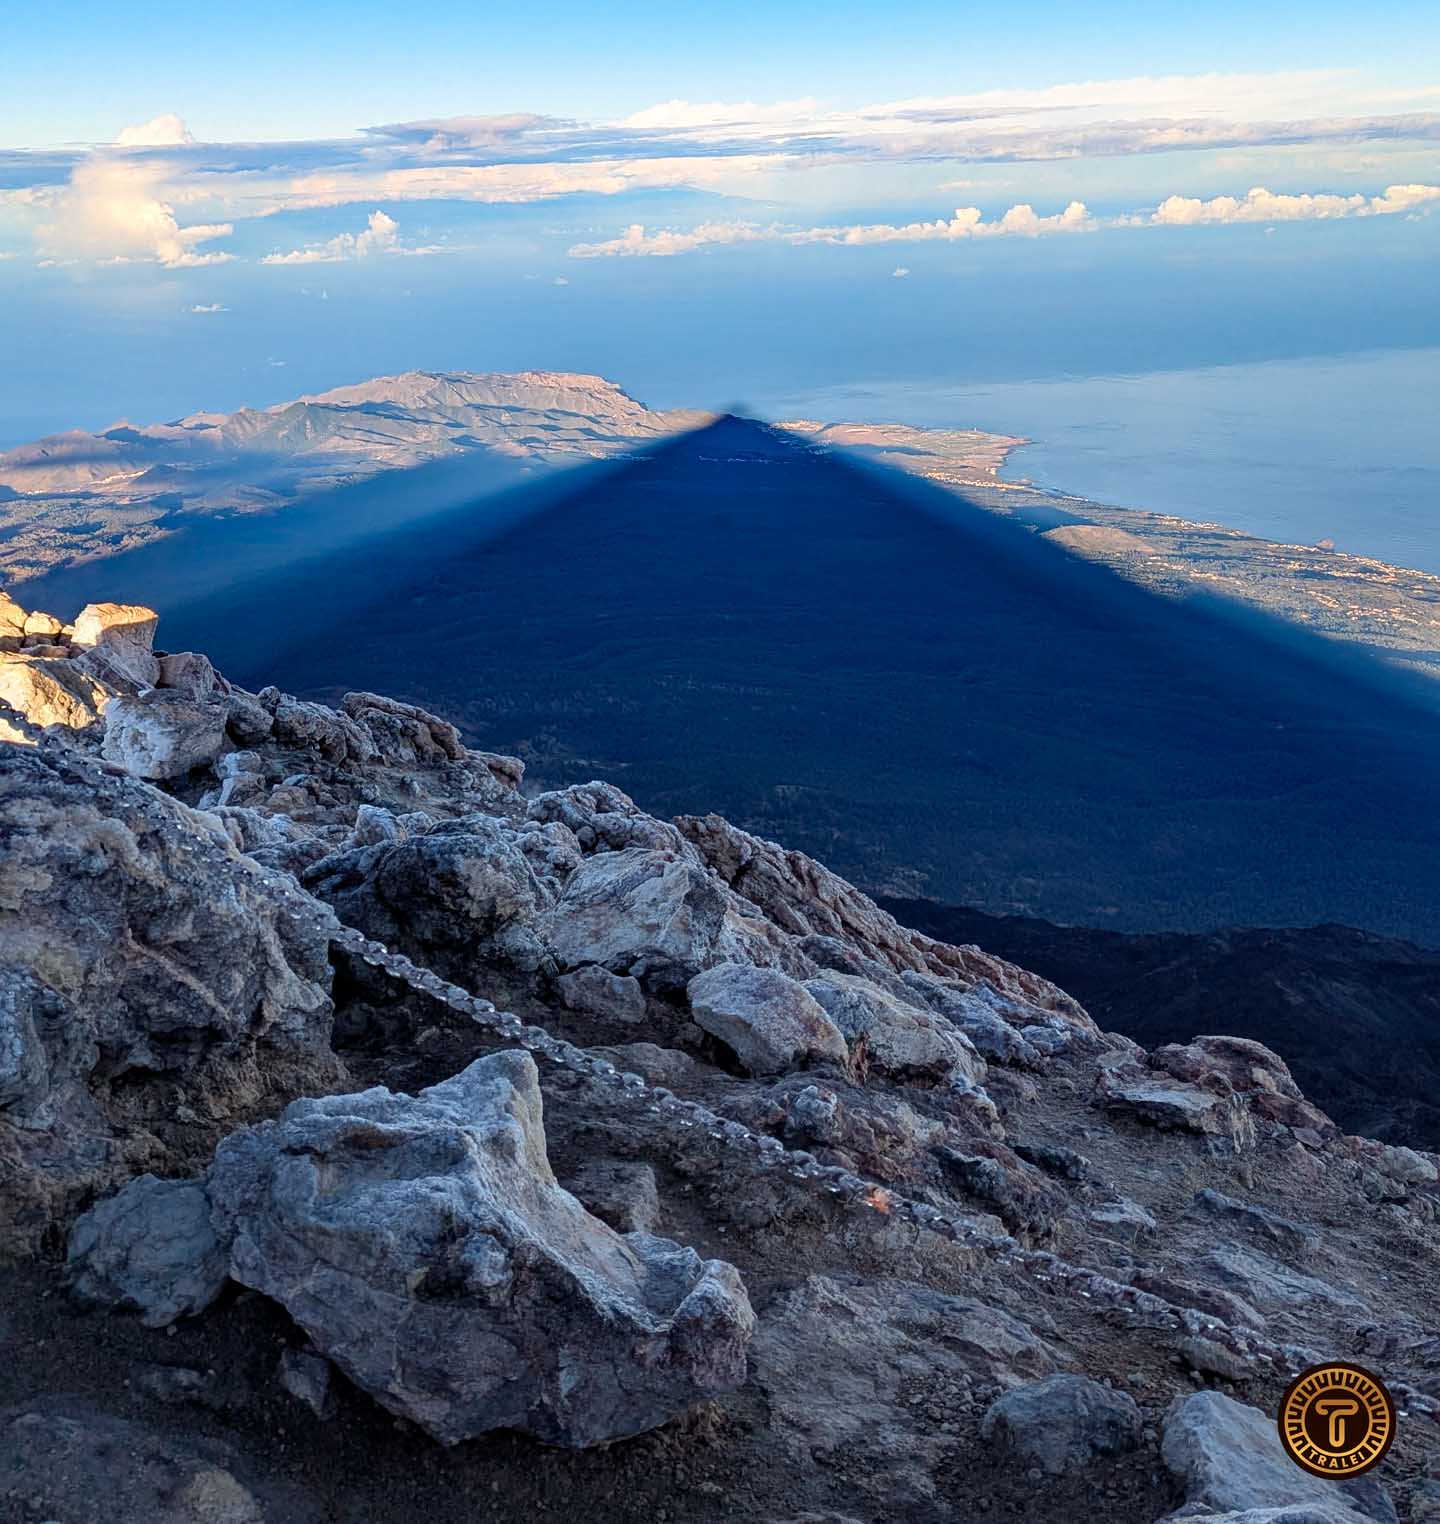
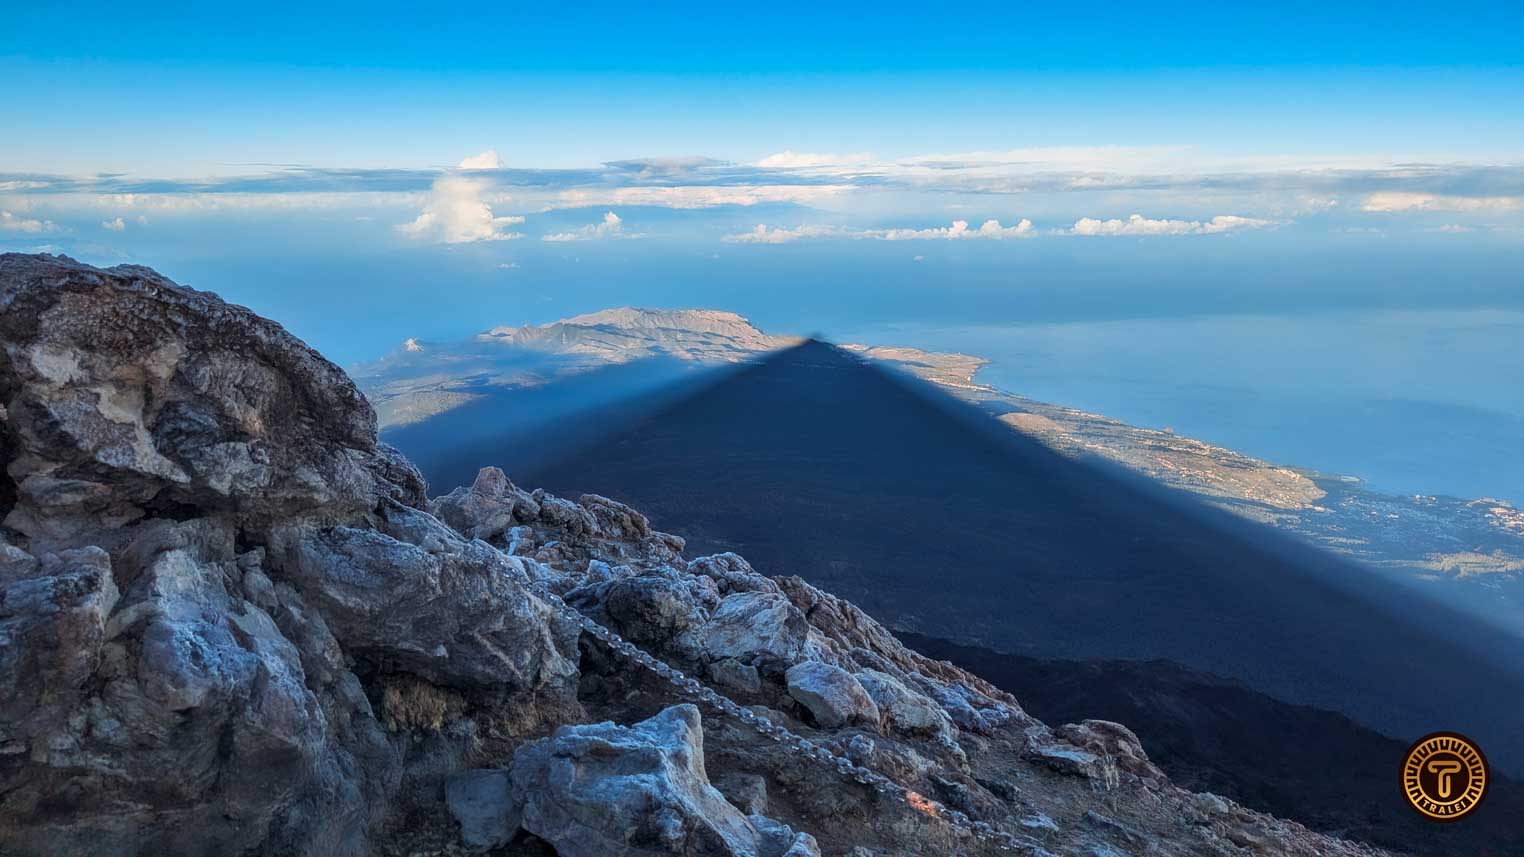
Therefore, the only option to see the sunrise and teides shadow is to trek up Teide. Which we will cove on the next section The Path & Time it Takes.
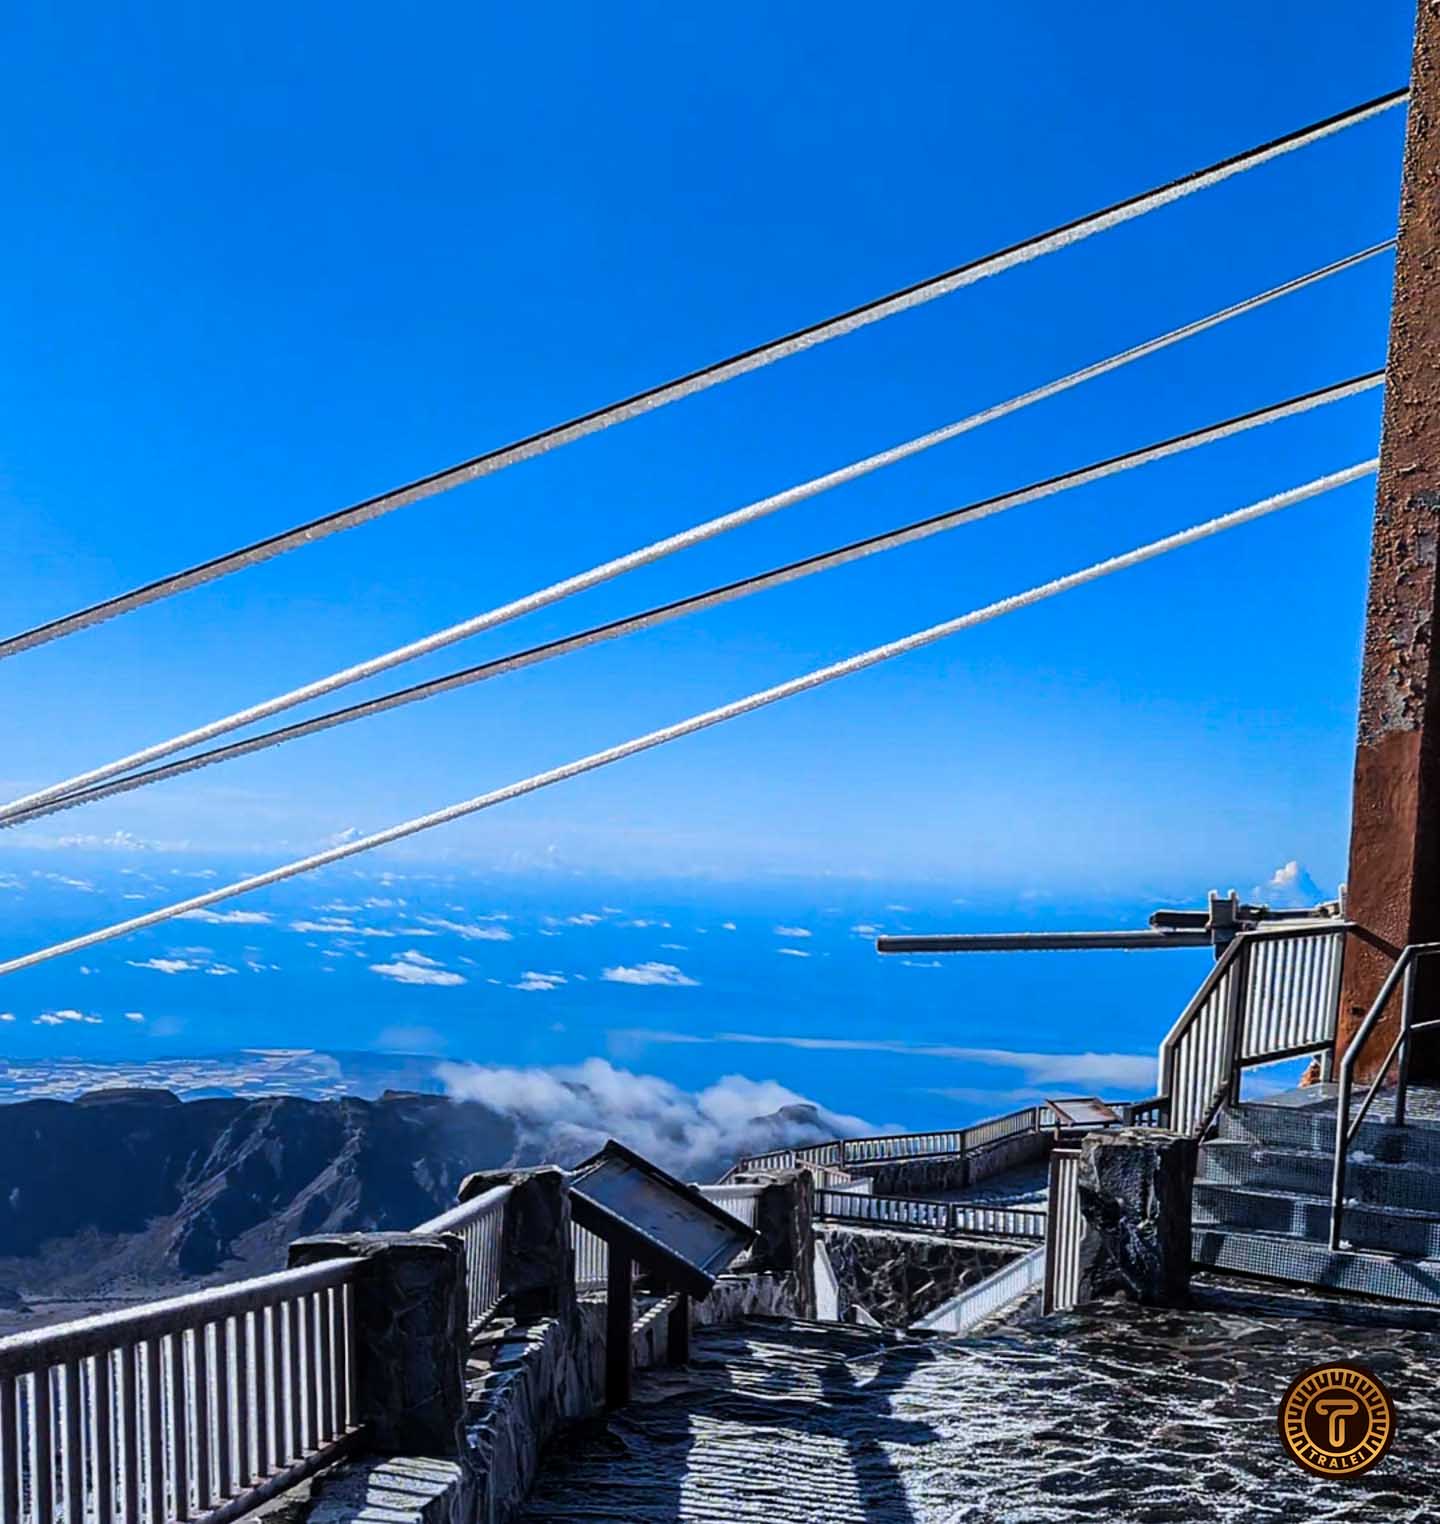
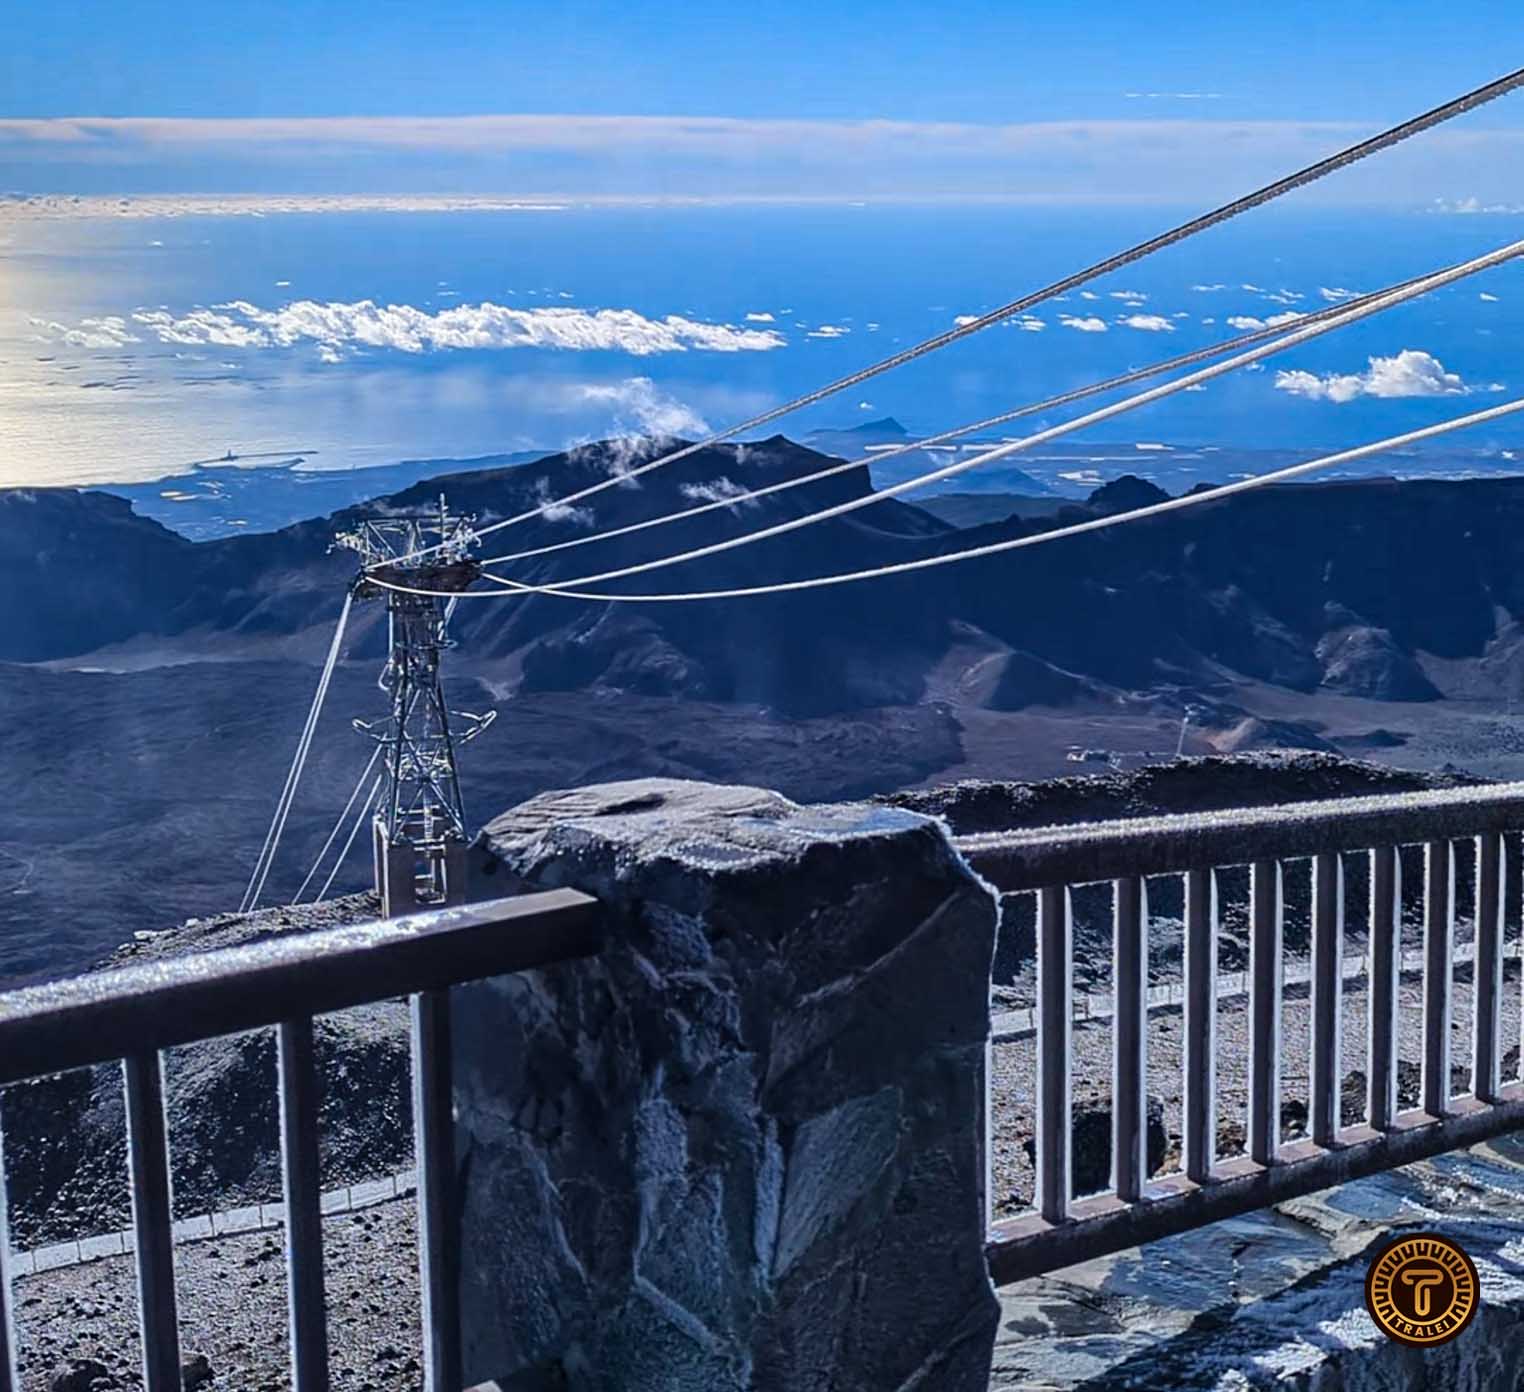
It is crucial to know that the cable car service often gets closed due to inclement weather (mainly strong winds, and also because of the cables being completely frozen during winter) and the decision to close it is taken at 8 A.M. on the same day (When hikers that go with the sunrise permit are already on the top) therefore you should never expect coming down with the cable car, and always be prepared to hike up and down the mountain by your own means.
The Path & Time it Takes
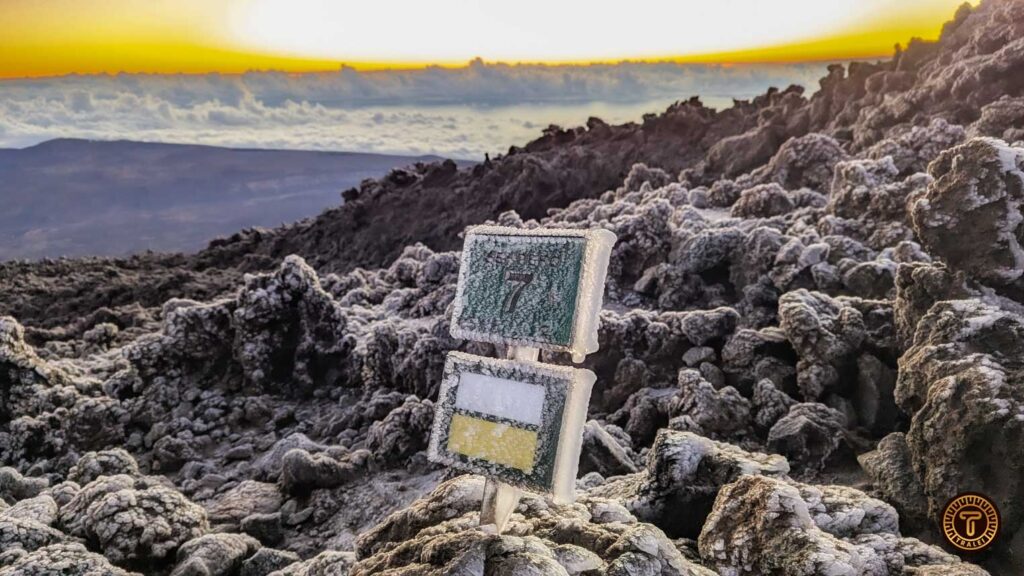
To access the top of Teide there are many combinations of trails that you can take, but the easiest and most frequented trail is through the East side of the Volcano. This trail starts at 2.200 meters of altitude, where the Sendero de Montaña Blanca, starts. (Km 40,2 of TF-21 road) At this point, there are only about 8 parking spots available, so unless you are very lucky you’ll need to park at the bigger parking found in Mirador El Tabonal Negro. The entire trail from start to the peak is about 9 km (one way) and it takes between 4h and 5h 30 min depending on your level of fitness. As seen in the picture you will follow path number 7 all the way to the Upper Cable Car Station, where you will connect with path number 10, called “Telesforo Bravo” which, as we mentioned before a permit needed to access it.
Adequate Clothing
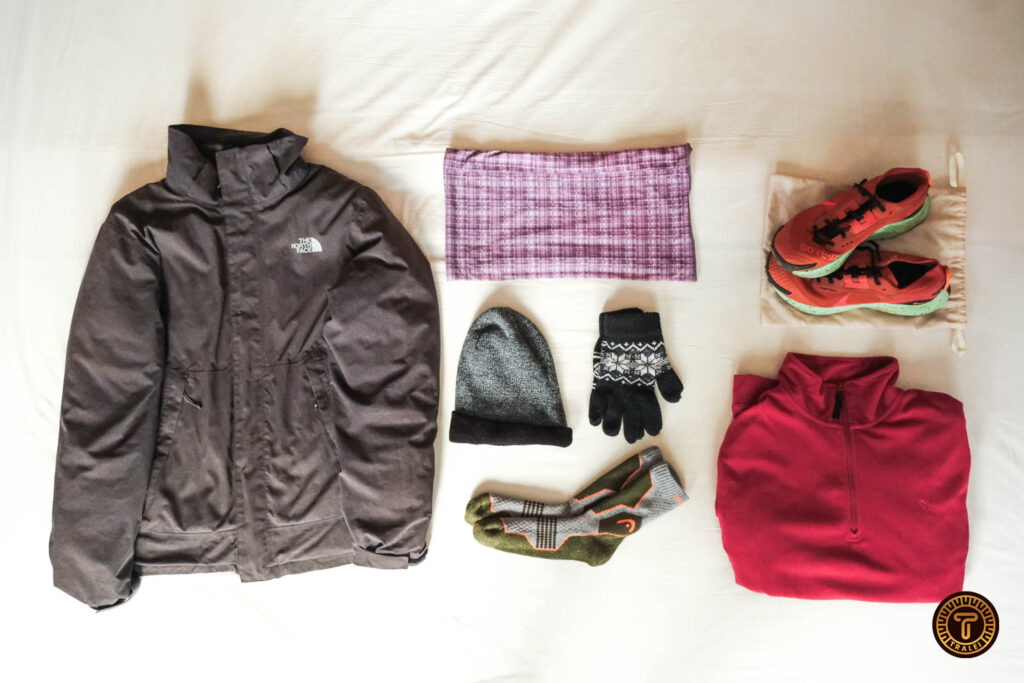
You should always bring some Gloves, a Hat and a Scarf with you to protect you from the cold and the wind. (believe me, your nose will thank you later).
You should also bring a thermal shirt, jacket, and a waterproof coat, that serves as a windbreaker.
For shoes always bring hiking boots or trail running shoes and if possible have them be waterproof too. You should always have winter socks with them and have an extra pair of socks in case they get wet because of either rain or sweat.
You should also bring an extra pair of every piece of clothing in your backpack to get changed.
Weather changes as you go up (gets colder and more windy) and keeping a constant body temperature is tricky due to wing gusts, and getting more physically exhausted with altitude, this means that you will be experiencing different temperatures all the time.
Other equipment
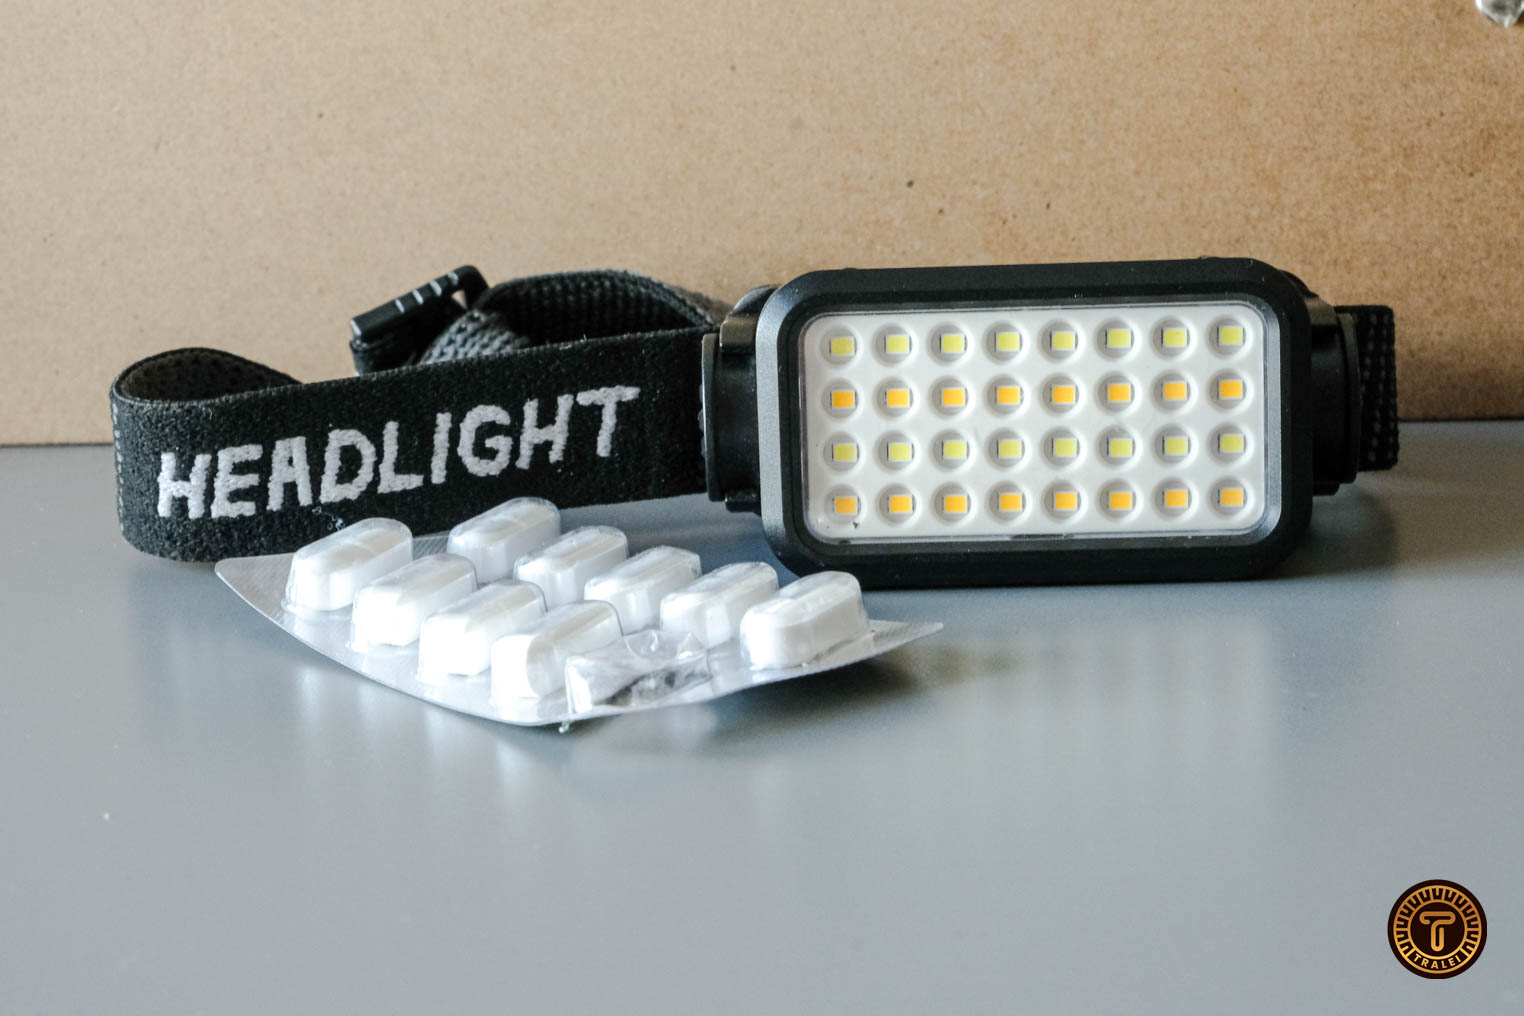
- Being a night activity you should bring a Headlamp which will be brighter than your smartphone, it will leave your hands free and that way you don’t waste your phone’s battery.
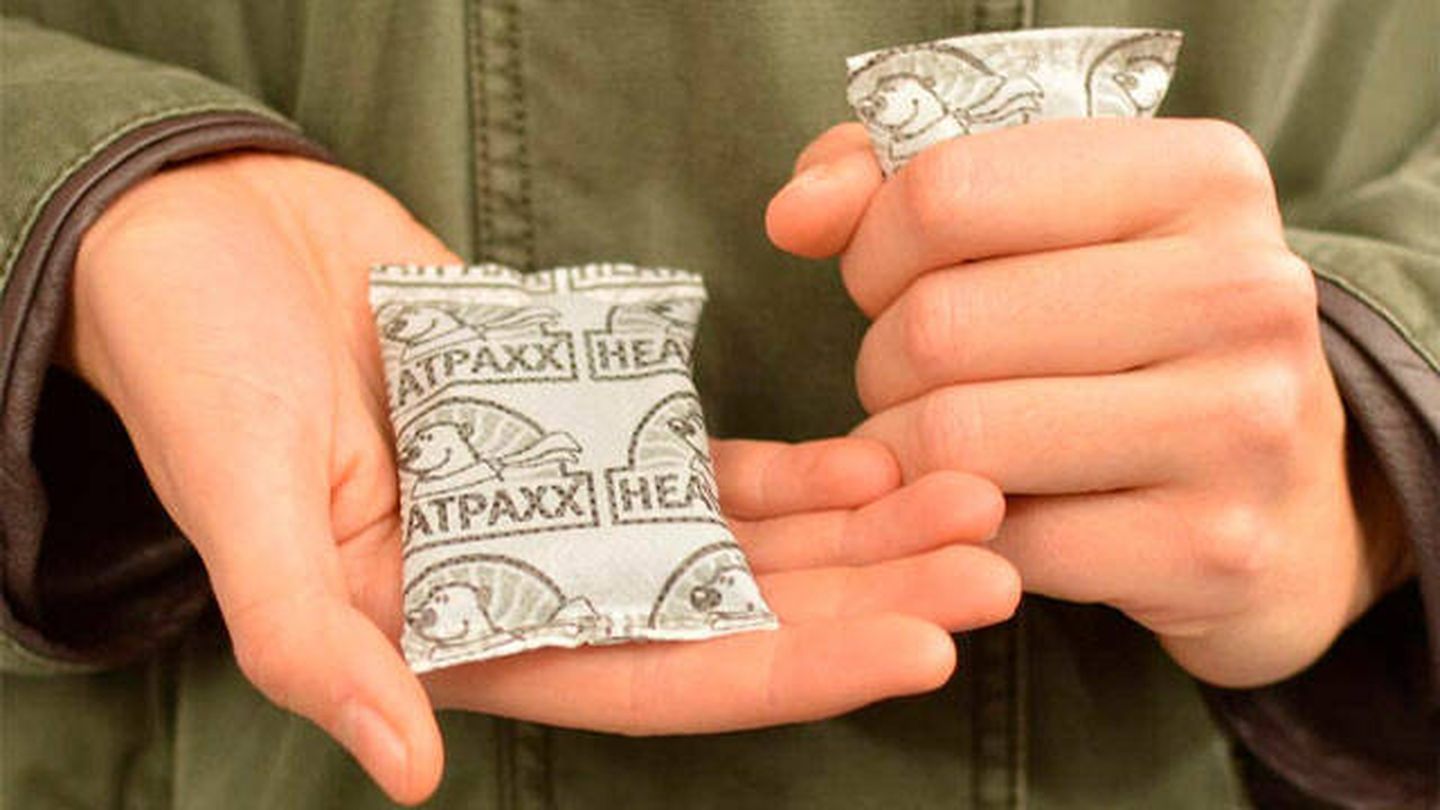
- Something that is great to use is feet and hands warming pads these are small sacks that produce heat when activated.
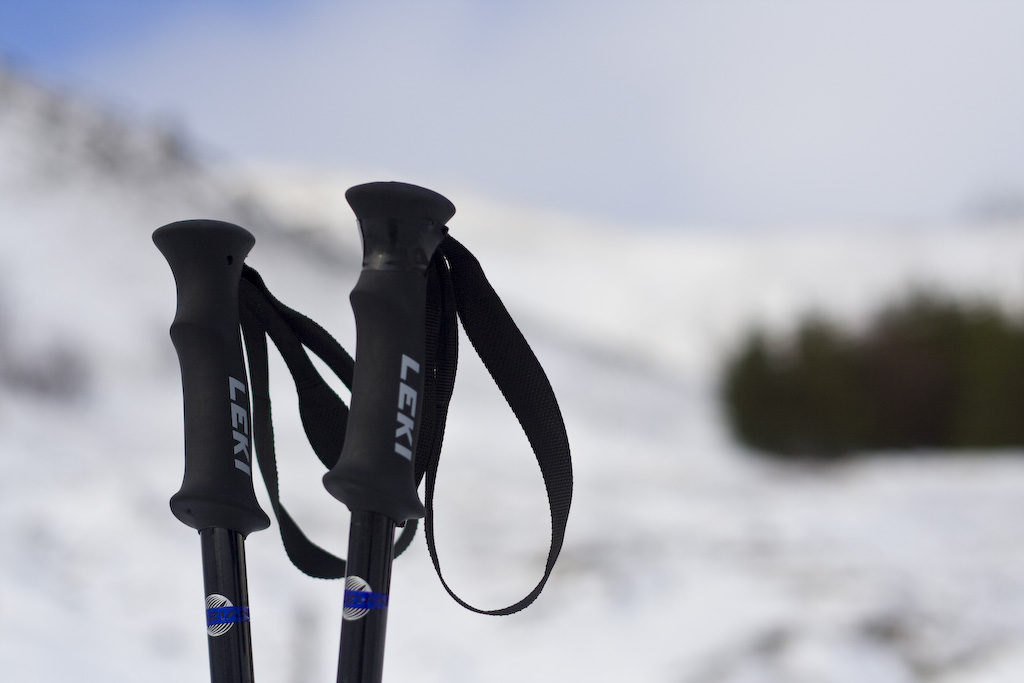
- Some people like Trekking Poles but that is totally up to you.
- Ibuprofen or even Acetazolamide are also recommended to treat altitude sickness
- You will also need the ID/Passport that you used for your permit reservations.
Food & Water
You need to be prepared to sustain yourself for at least 11 hours. Which is what it takes most people to go up and down (Keep in mind that the cable car will only open if conditions are highly favorable, and you can’t count on weather predictions as the weather at the top changes fast and unpredictably)
There is nowhere to get food or water during the trail (unless the cable car station is open which has two vending machines and bathrooms, but it doesn’t open until 9:00 A.M.).
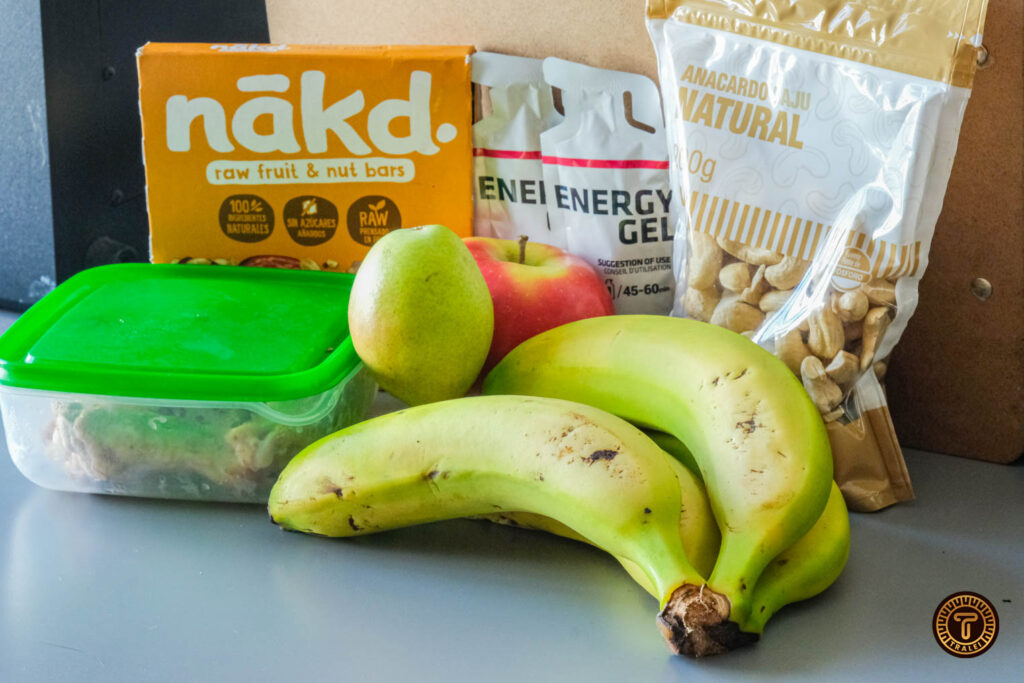
This means that you should bring a minimum of 2 -3 liters of water per person, easy-to-carry snacks such as fruits, energy bars, and dry nuts, and something consistent to eat (sandwich, or a normal food dish). Energy Gels are also reccomended.
Insurance
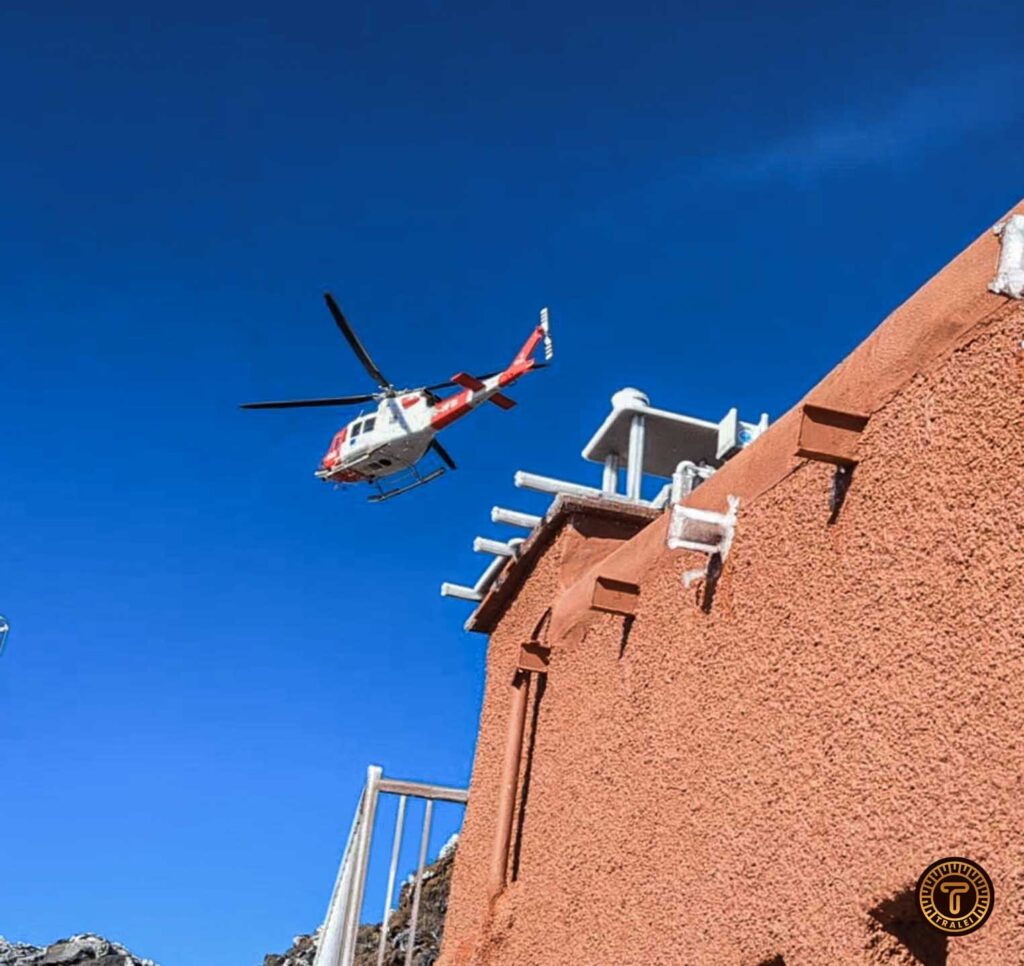
Due to recent rescues the Canarian Government, apart from establishing new permits and intensifying control over the clothing of hikers they have raised the pricing of the rescue fines where a helicopter could cost up to 1.800 euros per person just in fines.
To avoid this you can get daily insurance which will cover any expense in case of an accident.
The Cabin (Refugio De Altavista)
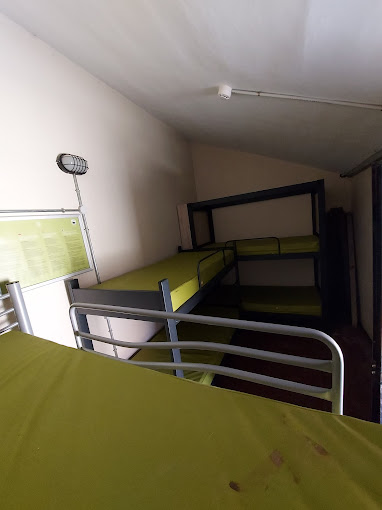
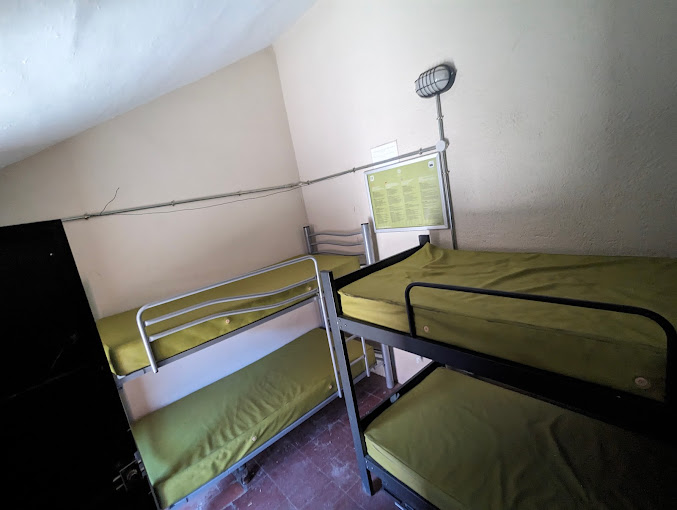
The main refuge which used to fit 54 visitors has been closed due to the increased number of visitors that would arrive without reservations and not respect the rules. There is a small room that they still keep open with only 6 beds (3 bunk beds).
There is no way of booking these beds, and they get occupied on a first come basis. If there is room, it’s a great place to warm up, rest, and fuel up, in a warmer environment. It is also a good place to swap clothes in case they are too wet.
Frequent Problems
Altitude Sickness
Teide is a high-altitude environment, which brings certain challenges, such as reduced partial oxygen pressure. This affects the body’s physical performance, leading to quicker fatigue. It also can cause the famous Altitude Sickness, which symptoms include headache, nausea, fatigue, difficulty breathing, and dizziness. Note that everyone can experience this even, people who have never suffered from it in similar conditions. But certain people may be more prone to suffer from it.
Therefore, climbing is not recommended for individuals with pulmonary or respiratory conditions, heart failure, or high blood pressure.
Hypothermia
hypothermia is only reached in extreme states, but it is true that there are certain preparations that can be taken in order to avoid it. Even if you are well equipped against the cold you might start sweating (depending on your physical conditions and how much you normally sweat it might reach a point when you are completely covered in sweat, which cools down quickly making you wet in a very cold environment) If you are constantly in movement this is not often a problem, but unless you calculate your timing perfectly to arrive at the peak just on time for sunrise, you will have some waiting time .
The solution or this is to bring an extra pair of every piece of clothing, (mainly an extra jacket and shirt, but pants and socks would also be convenient) that way in case they get very wet, you can switch them up for dry ones.
Professional Guides
After reading about all the risks, preparation, and permits required to climb Teide you might find yourself a bit overwhelmed. If you are unsure that you’ll be able to complete the climb and the descent safely or just don’t want to deal with insurance, permits, and navigating the route we recommend hiring a professional guide for the excursion. Not only will they prepare everything for you, but also will be the best to assist you in case anything unexpected happens.
You can look online for specific guides and dates. Note that even if there are no permits left for a specific date official guides have special permits, so you might be able to go even on dates where permits appear fully booked on the reservations website. Every guide has a different itinerary, but most, do the trail during the day, (they start around 2 pm) watch the sunset shadow at the top, and do the descent during the night. This is because it is easier for them to get a normal permit to do the last part of the trail, which is normally booked 4 months in advance.
The Shadow
The Shadow often starts around 10 to 15 minutes after sunrise and lasts for around an hour. In the beginning, the shadow is very light, and it gains strength as time passes.
This means that you can often have some margin if you want to see the shadow as you can still see it as long as you start path number 10 (the one from the Cable Car to the top) right after sunrise. This way you won’t have to climb the last part (which is the toughest) in darkness, but instead surrounded by a natural spectacle, which makes the last part more enjoyable. By doing this you won’t have any downtime waiting at the top which will prevent you from the risk of hypothermia.
Gallery
Lastly, we want to share some of the videos we took during our last climb to the top so that you get an Idea for the trail conditions and the beauty of the landscape.
And that is everything we had to share, we hope that this guide has helped you get an idea of what actually means to climb Teide during the night and assisted you in making your decision to trek this beautiful volcano. If you have any further questions or want to add your personal insights make sure to use the comments section.
Safe travels!
2 Responses
How much is it for 3 people, we will be in Tenerfife on May 14th and plan to do the night hike, setting off from Montana blanca, about 2am, we have permits but only for the 15th afternoon, do you think we can still do the night even if are permits are for later? We ideally want to see sunrise and then cable car back down. any advice
There are still night permits abailable for may 14th, so I would highly suggest getting them now (they are free), as they can check on the top