Los Gigantes Hole Trail is a total of 6.5 Km (4 Miles) out and back. On this article we will show you where the trailhed is and how to get to the top, as there is no official trail to get to the hole.
If you’ve ever been around Los Gigantes Cliffs in Tenerife you will have probably noticed a big hole in one of the crests and you’ve wondered, “Can you go up there?” The short answer is, “Yes”, but it isn’t that easy.
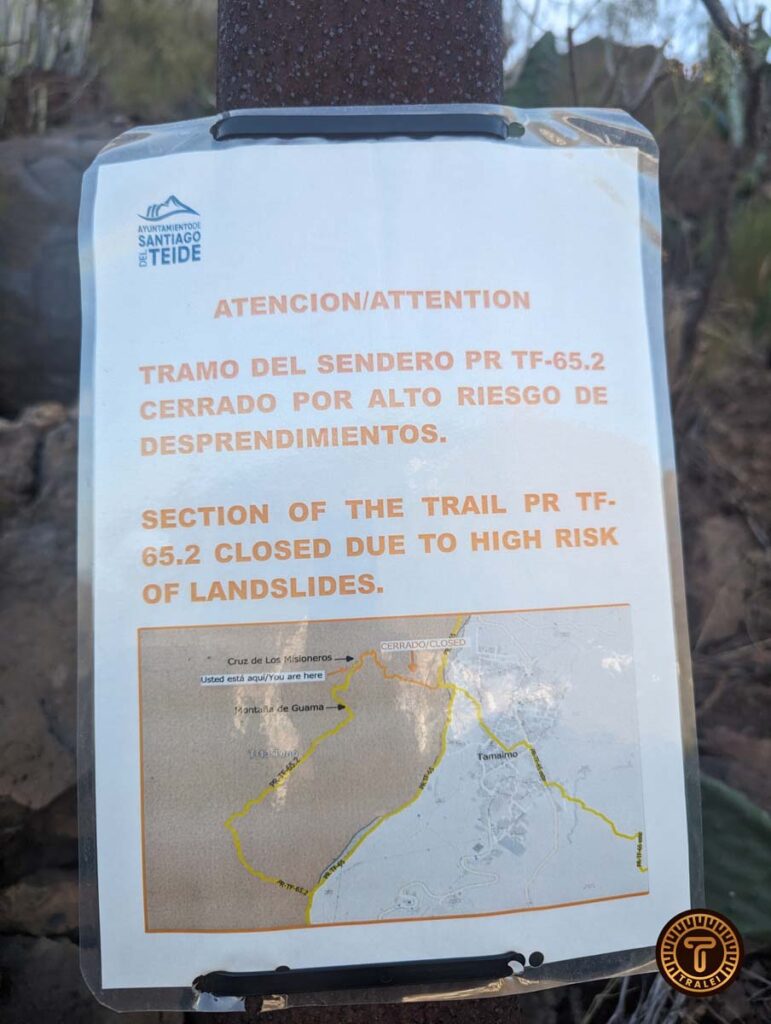
There used to be 2 trails to get there, but recently one of them has been closed due to landslides that happened along the trail so there is only one option now.
The trail is a total of 6.5 Km (4 Miles) out and back with a total ascent of 230 meters (750 feet). It takes about 1:10 – 1:30 hours to get to the hole and the same for the way back.
It is highly recommended to wear hiking shoes as there are a lot of loose rocks and some parts of the trail are slippery.
It is worth noting that there is no official trail to get to the whole, which is why we have prepared this article. The trail uses a couple of other trails marked with a white and a yellow line but there are moments where you need to disregard those directions and follow the ones we will give you below.
1. Trailhead
The trailhead can be found in the town of Tamaimo, which is about 15 minutes from Puerto Santiago through a winding road.
You can check the exact coordinates here or on the map. There is space to park your car on the sides of the street which is very steep at the beginning, so park towards the end.
From the coordinates, you can see a path. You must start walking downhill.
2. Intersection
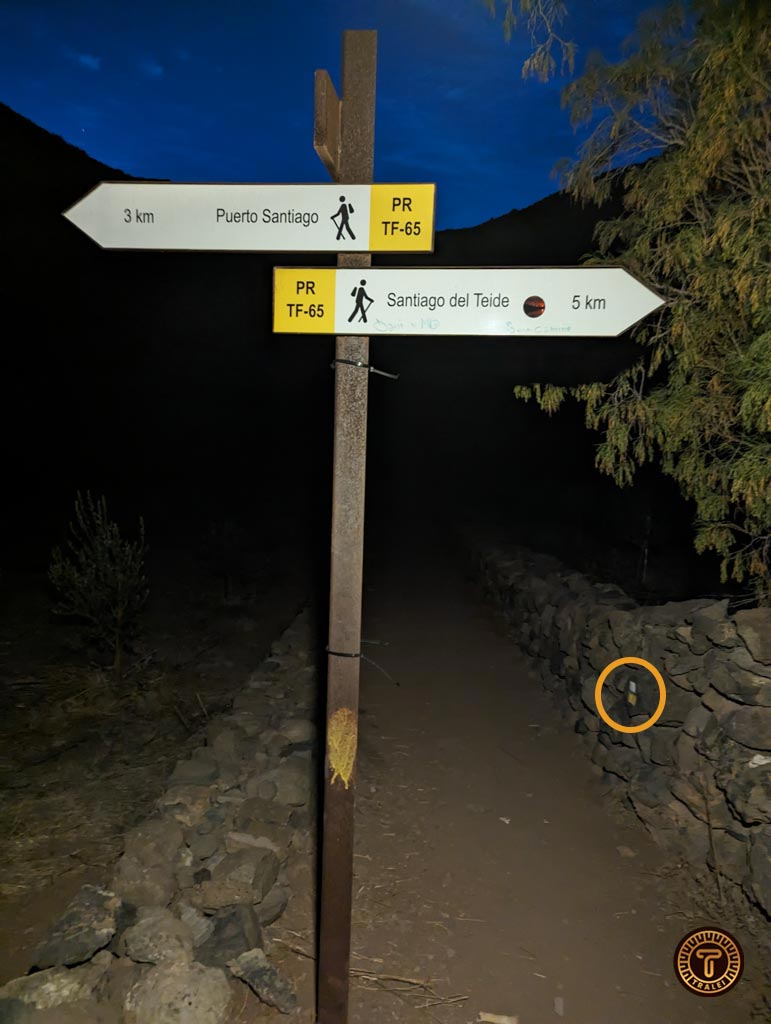
After walking down next to the ravine for about 900 meters and passing the house, you will get to this intersection and you must turn right (follow the path that is shown in the picture). This part of path is marked with white and yellow mark so just follow those
3. Stop following the yellow marks
You will need to keep climbing up until the path straightens (You will be going up in zig-zags). Then you will get to this cactus on your right and you will see a path on your left. (Yes you will need to follow the path marked with an X) The exact coordinates of this point can be found here & on the map.
4. Start going back down
Follow that path until you get to the end of the cliff, and then turn left and start going down.
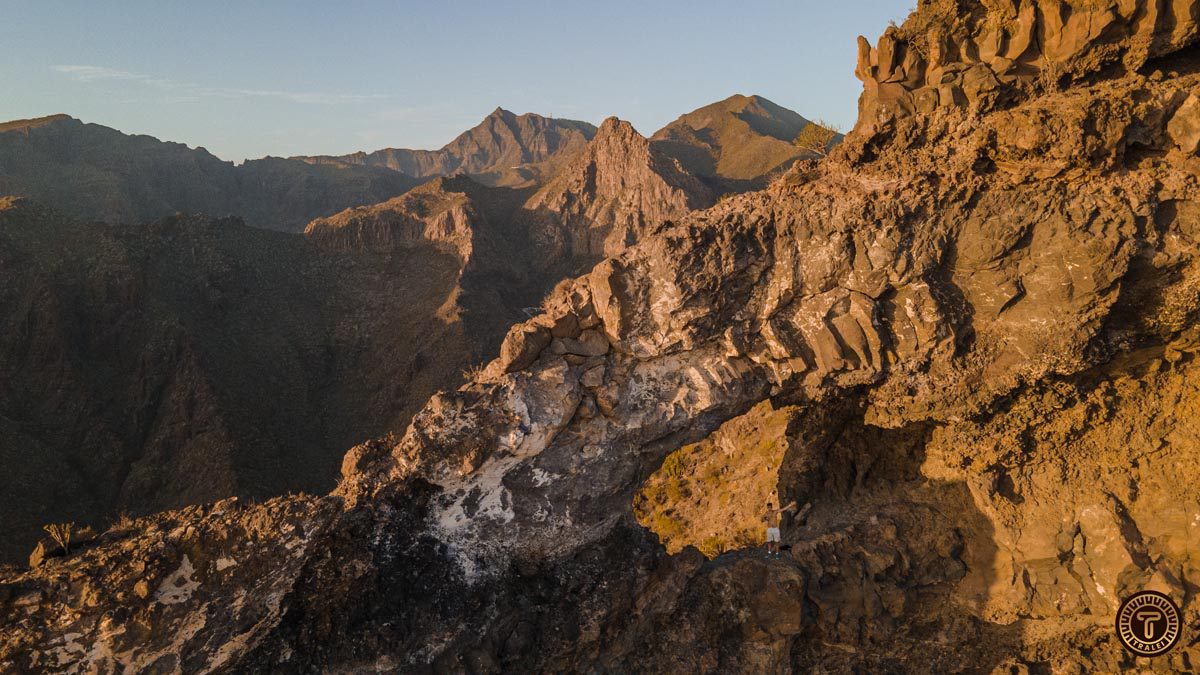
5. Final part
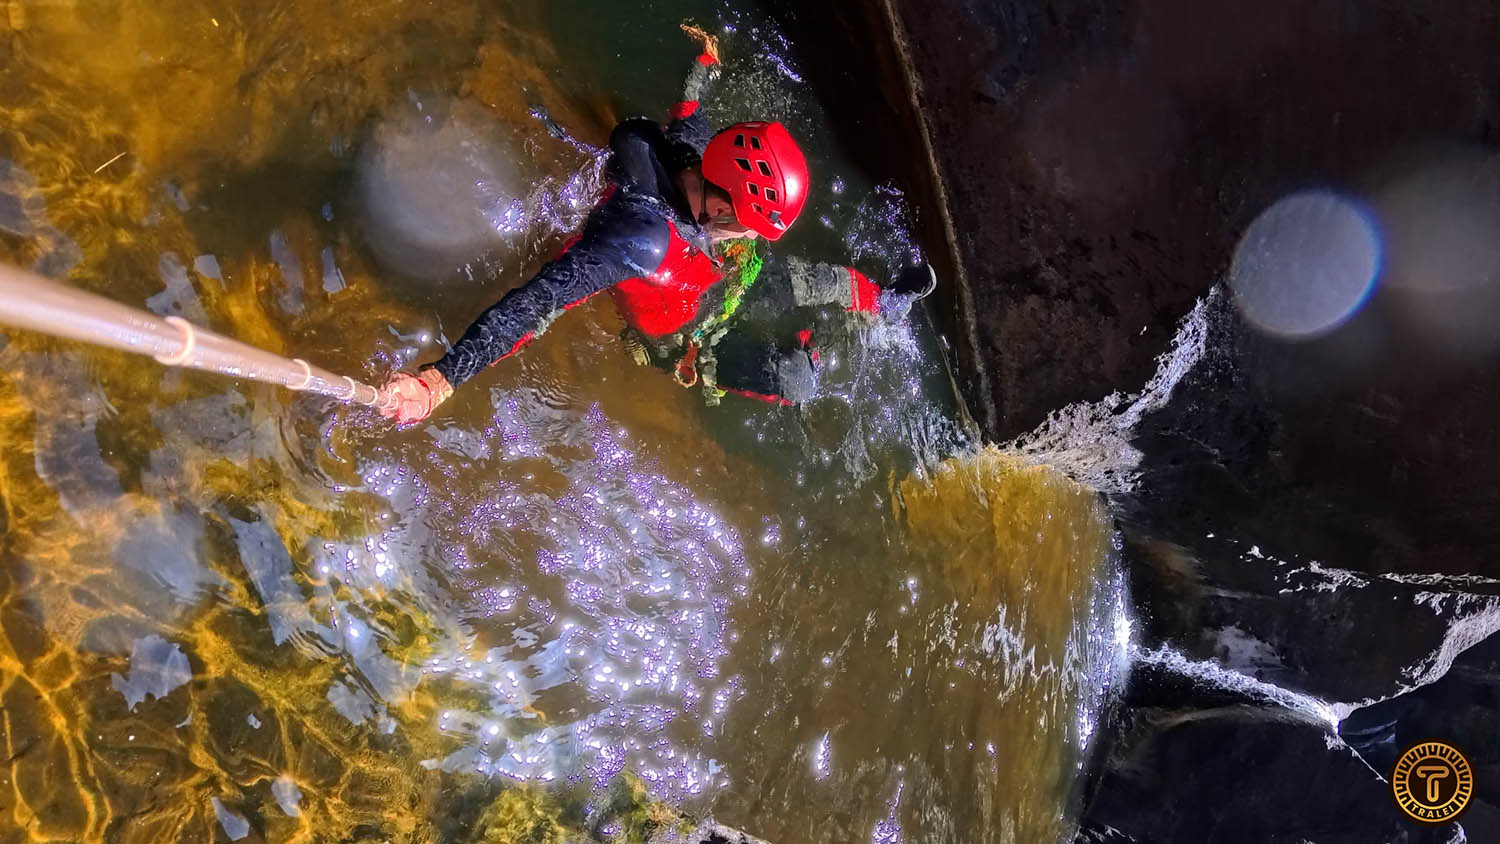
You will be walking on the left side of the cliff now, but there will be a point (Click here for coordinates) once you get to this rock that has a yellow arrow. You will need to follow the path across the other side of the cliff. Be careful as this is the most dangerous part of the trail. There are loose rocks and dirt.
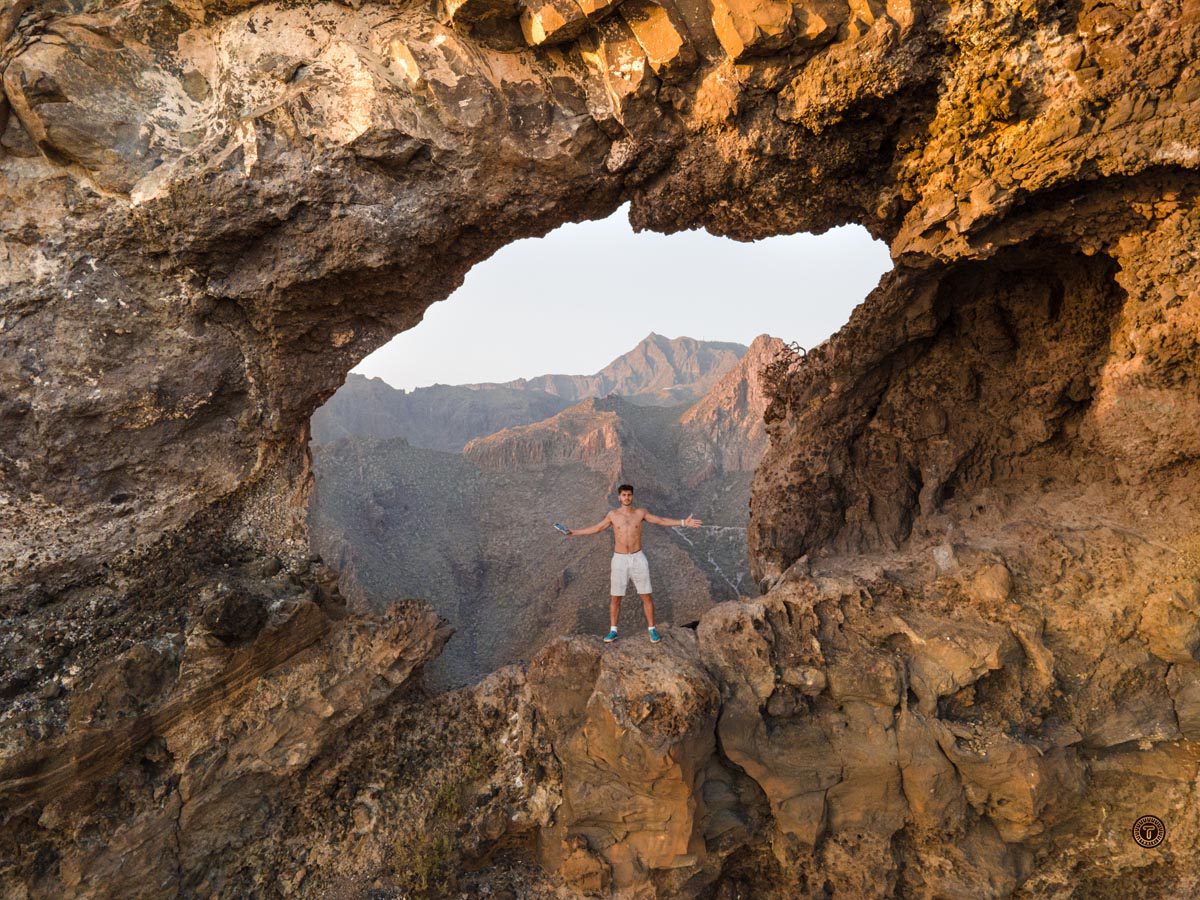
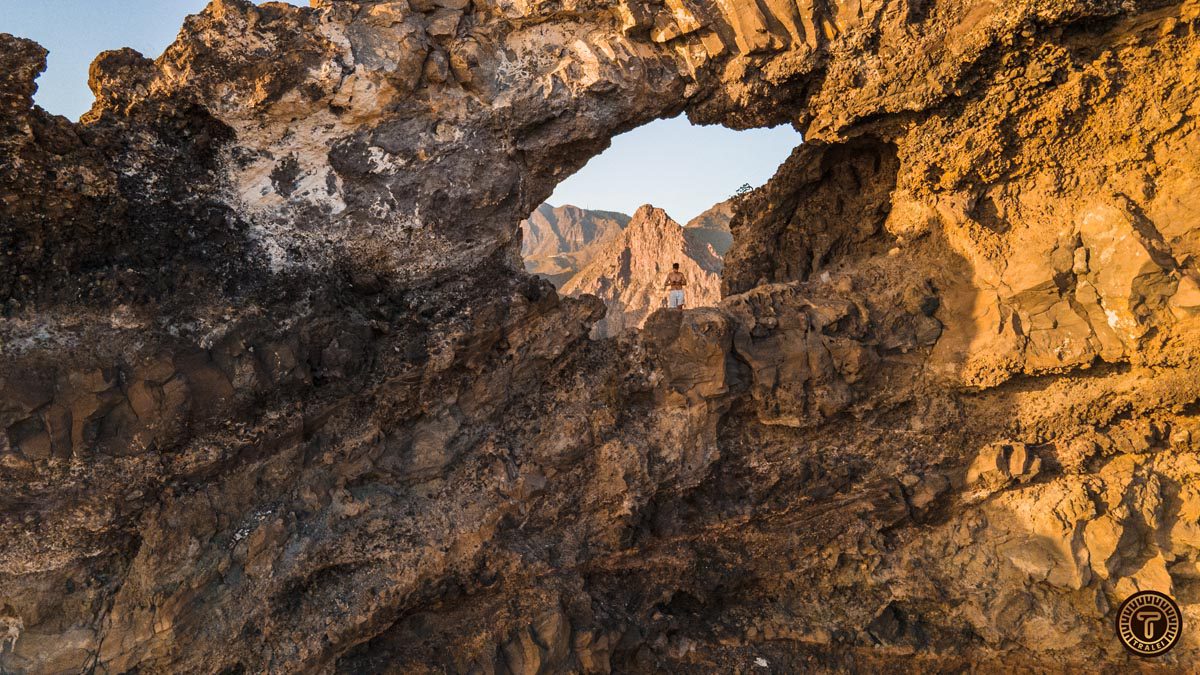
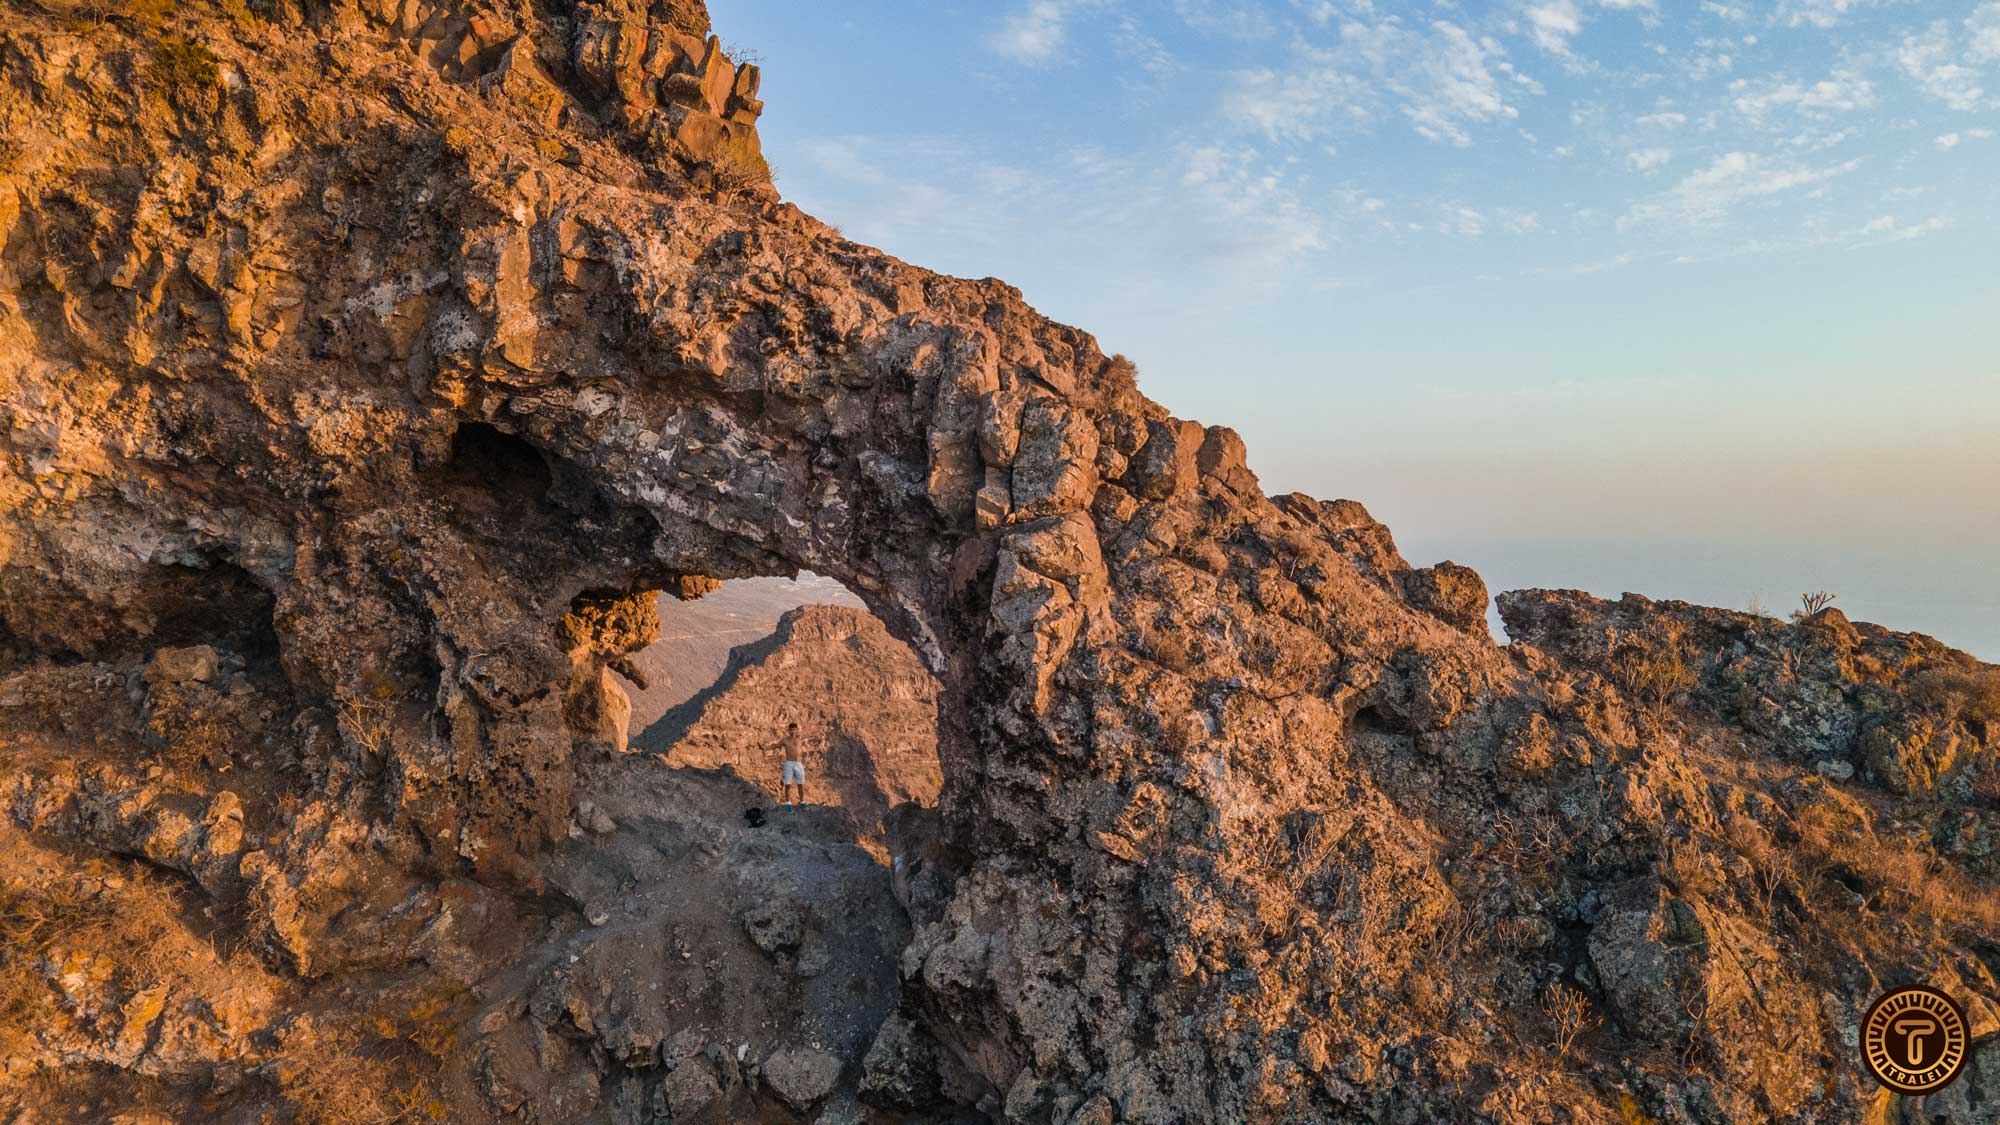
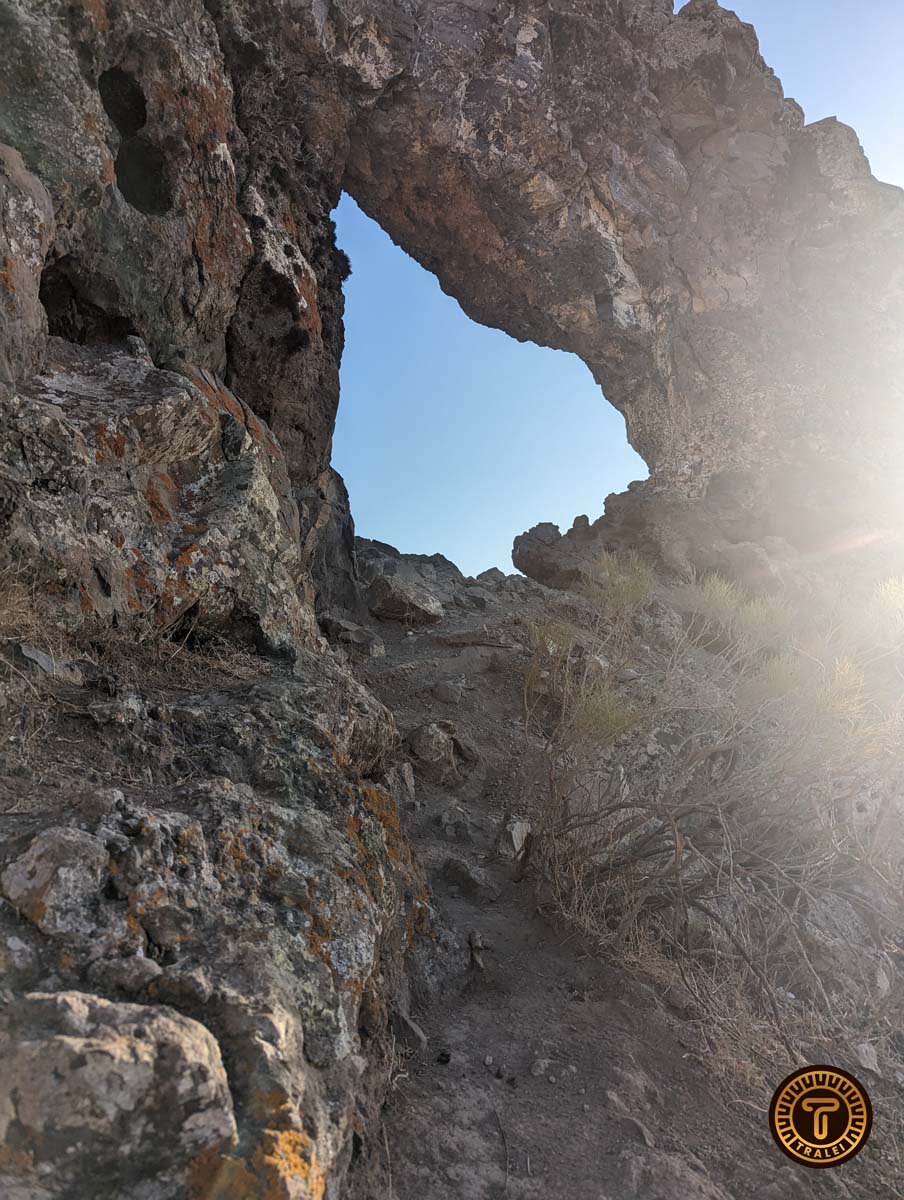
6. Enjoy
While following the last part of the path you will be able to see the hole. Now it is time to enjoy the view!
Thank you for reading! If you are in Tenerife make sure to explore all of our other articles. Such us our Best Hiking Trails in Tenerife Compilation